
Flutter Toast
Toast is nothing but a flash message in flutter, which is used to display information to the user for a limited time. It appears at the bottom of the screen by default and disappears after a specific time. Generally, we will use a toast message to notify the user about the status of the operation performed. For example, after submitting a registration form we can notify the user about the status of the registration using toast message.
In flutter, there is no specific widget or function available to display a toast message. We can use snackbar widget instead of toast but, we cannot change the position of snackbar like toast. To add functionality for displaying toast message to our flutter application we have to use FlutterToast dependency. This tutorial shows you how to create and show a toast message in flutter using FlutterToast dependency. You will also learn how to customize and style toast message using different properties with example.
Flutter Toast displays a simple toast without any animations. If you want to display a styled and beautifully animated toast consider using Motion toast.
Creating Toast Message In Flutter
To create and show a toast message in flutter follow the below steps :
- Create a flutter project
- Add FlutterToast dependency to the project
- import the flutter toast package :- import ‘package:fluttertoast/fluttertoast.dart’
- Call FlutterToast.ShowToast() method and provide required arguments.
Lets add FlutterToast depenency to pubspec.yaml file present in the root folder of our project.
pubspec.yaml
dependencies:
  fluttertoast: ^8.0.7
Now import the fluttertoast package to use toast functionality in our project.
import ‘package:fluttertoast/fluttertoast.dart’;
Now we will show a toast message without context. To display a toast message call FlutterToast.ShowToast() and provide the msg property with some value which is a string. This string will be our message.
Fluttertoast.showToast(
                msg: "This is toast",
              );
Note : The above method ( FlutterToast.ShowToast() ) will completely work on devices with android version 10 and below. For devices with android version 11 and above, it will only use msg and toastLength remaining all properties will not work. Consider creating custom toast for android version 11 and above, which is explained below.
Flutter Toast Properties
Lets customize the toast message using different properties of FlutterToast.ShowToast() method. These properties will help in styling and positioning the toast message.
- msg
- toastLength
- gravity
- fontSize
- backgroundColor
- textColor
As toast messages cannot be displayed directly, add the below code snippets inside onPressed callback of any button or widget to see the output. In all the below examples we will show toast without context.
msg
It accepts a string as value. We will use this to display the message to the user.
Fluttertoast.showToast(
                msg: "This is toast",
              );
Output :

toastLength
It accepts constants of Toast.LENGTH_LONG and Toast.LENGTH_SHORT as value. We will use it to change the duration of displaying the toast message.
Fluttertoast.showToast(
                msg: "This is toast",
                toastLength: Toast.LENGTH_LONG
              );
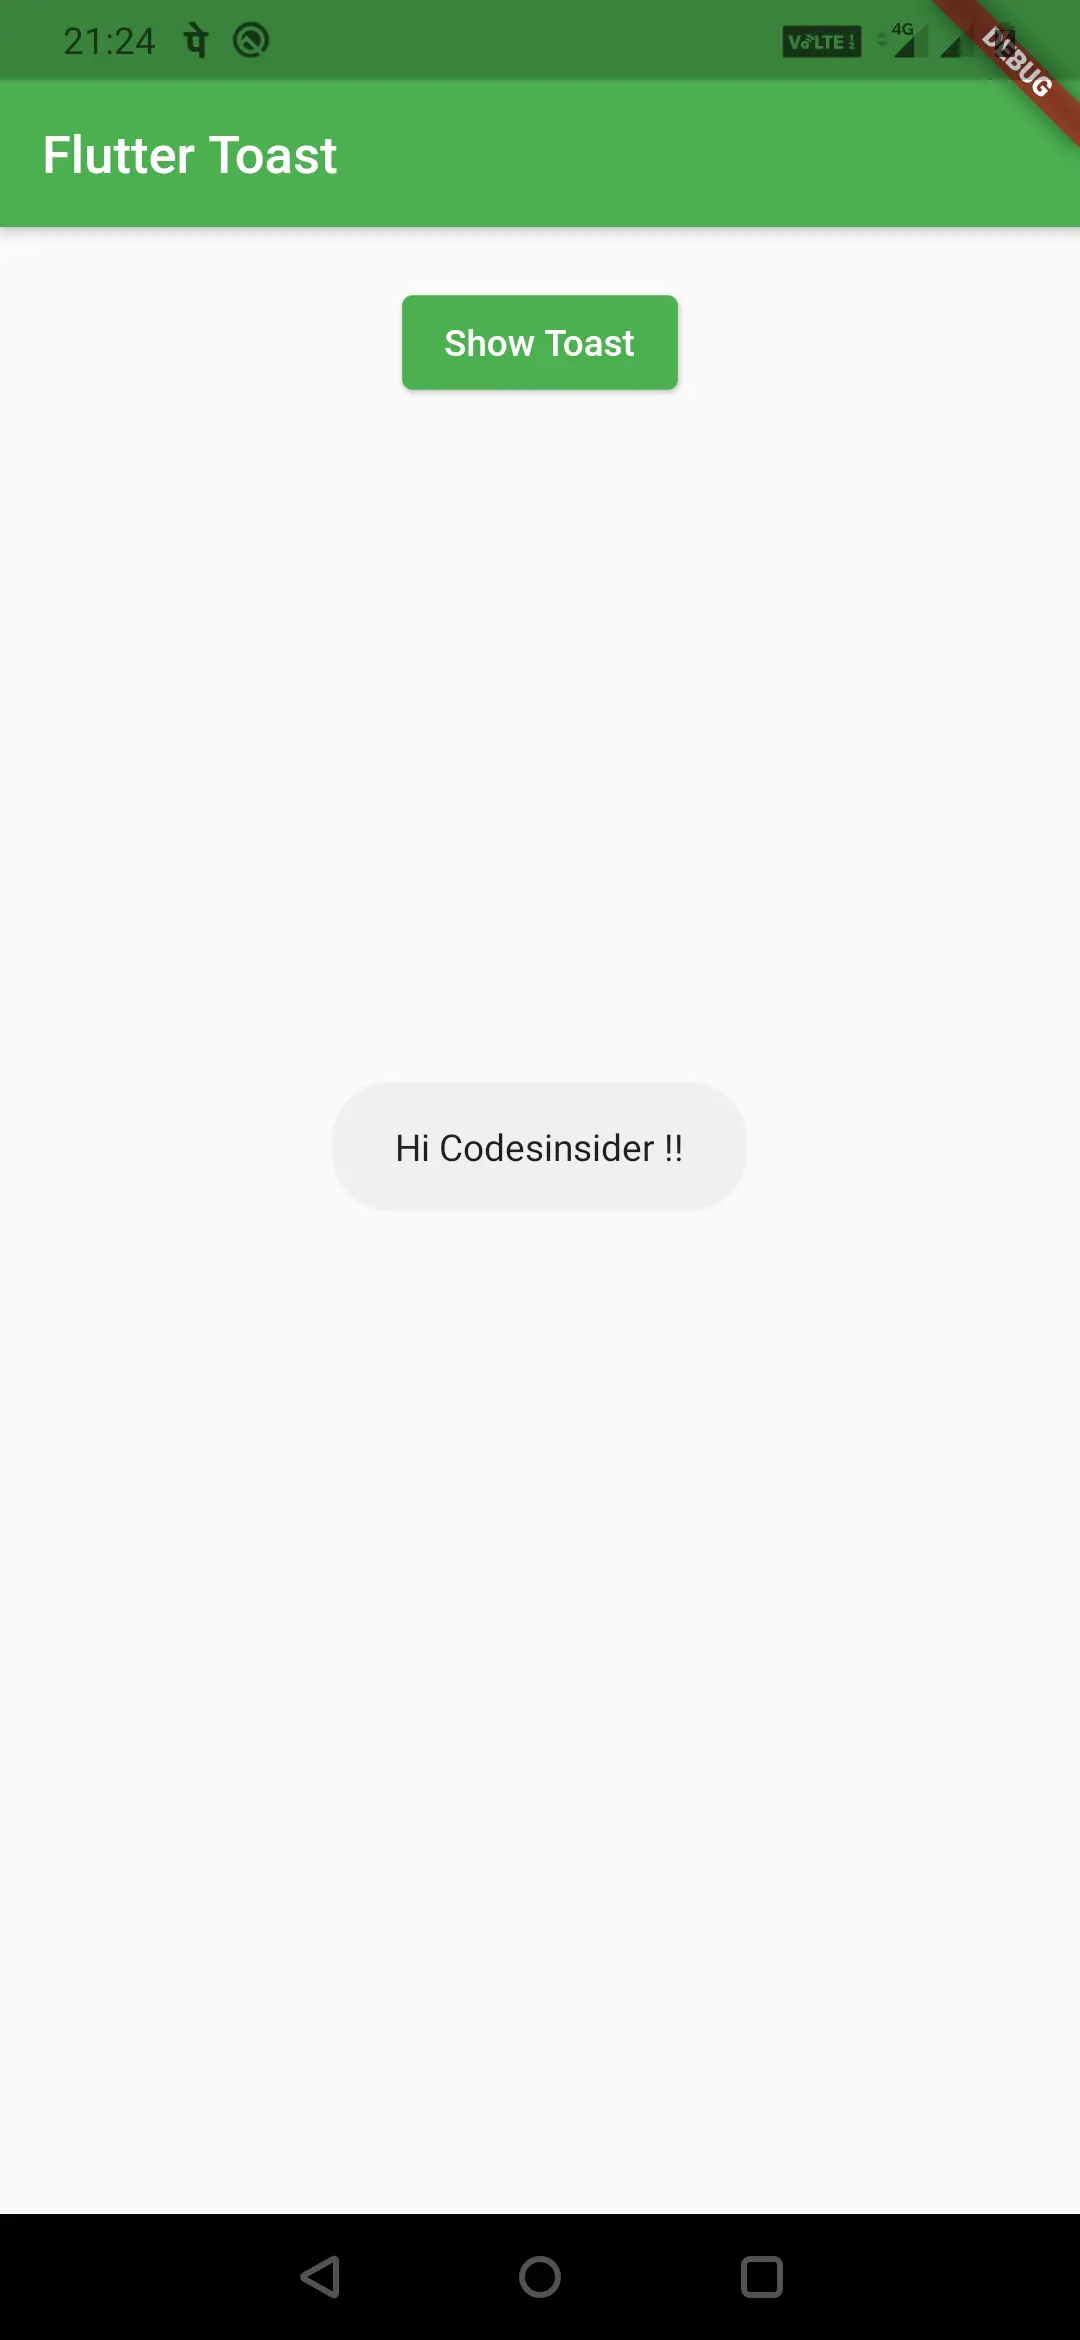
gravity
We will sue this property to change the position of the toast message. It accepts constants of ToastGravity. I will use ToastGravity.CENTER. Try the rest for yourself.
Fluttertoast.showToast(
                msg: "Hi Codesinsider !!",
                toastLength: Toast.LENGTH_LONG,
                gravity: ToastGravity.CENTER
              );
Output :
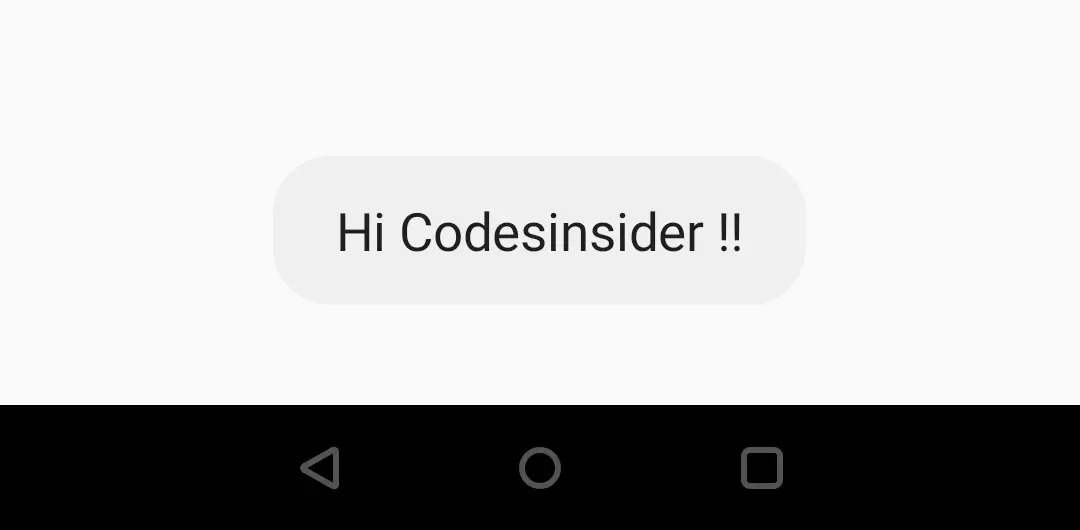
fontSize
It takes double as value. We will use this property to change the font size of the toast message.
Fluttertoast.showToast(
      msg: "Hi Codesinsider !!",
      toastLength: Toast.LENGTH_LONG,
      fontSize: 20
);
Output :
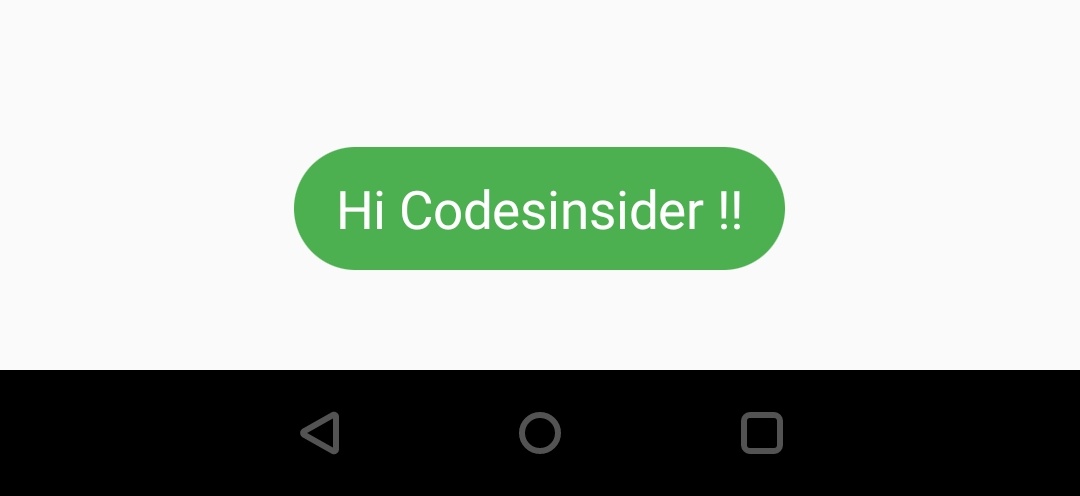
backgroundColor
It takes material color as value. We will use this property to change the background color of the toast message.
Fluttertoast.showToast(
      msg: "Hi Codesinsider !!",
      toastLength: Toast.LENGTH_LONG,
      fontSize: 20,
      backgroundColor: Colors.green
    );
Output :
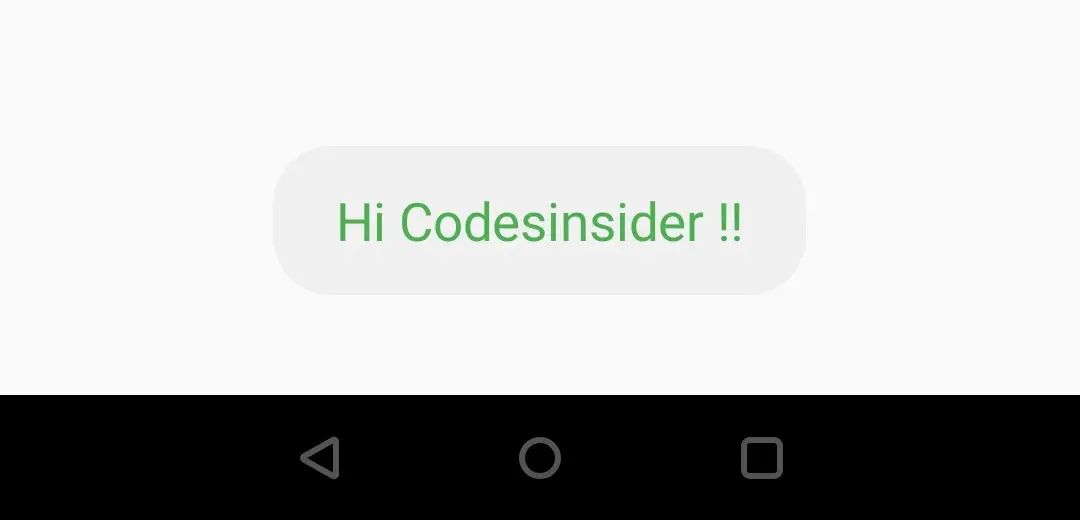
textColor
We will use this property to change the text color of the toast message. It takes material color as value.
Fluttertoast.showToast(
      msg: "Hi Codesinsider !!",
      toastLength: Toast.LENGTH_LONG,
      fontSize: 20,
      textColor: Colors.green
    );
Output :
Creating Custom Toast Message In Flutter
To create a custom toast message in flutter we will use the same dependency ( FlutterToast ) which is used above. This dependency has incorporate another way of creating a toast message using buildcontext. Since, we have already added the library and imported the package, lets get to the code implementation.
We have to declare an object of class FToast which is provided in the dependency.
FToast fToast;
Now, we have to initialize the object with current context in the initState() method .
@override
  void initState() {
    super.initState();
    fToast = FToast();
    fToast.init(context);
  }
Its time to design our custom toast message. Lets create a custom toast message using container widget and assign it to a variable of type widget.
Custom Toast Widget Code
Widget toast = Container(
      padding: const EdgeInsets.symmetric(horizontal: 24.0, vertical: 12.0),
      decoration: BoxDecoration(
        borderRadius: BorderRadius.circular(25.0),
        color: Colors.greenAccent,
      ),
      child: Text("This is a Custom Toast"),
);
To display the custom toast message created above we have to provide the above widget as child to fToast.ShowToast() method.
fToast.showToast(
        child: toast,
);
Flutter Custom Toast Properties
Lets customize the toast message using properties of FToast.ShowToast() method.
- child
- toastDuration
- gravity
- fadeDuration
- positionedToastBuilder
As toast messages cannot be displayed directly, add both the custom toast widget code created above and below code snippets of each property inside onPressed callback of any button or widget to see the output. In all the examples below we will show toast message with context.
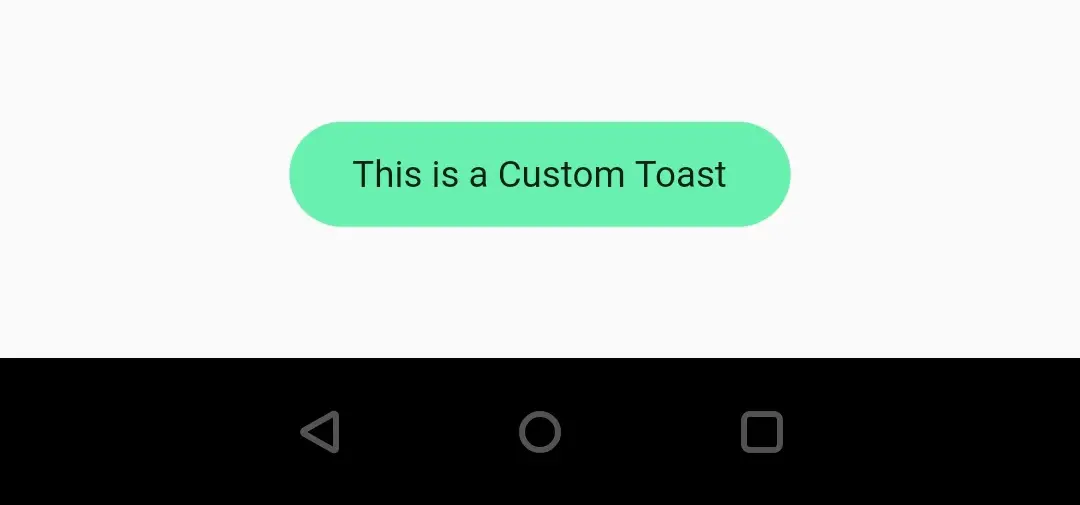
child
It takes a widget as value. We will use this property to add a child widget which is a custom toast message.
fToast.showToast(
        child: toast,
);
Output :
toastDuration
It takes Duration as value. We will use this property to define how long we want the toast message to appear on screen.
fToast.showToast(
        child: toast,
        toastDuration: Duration(seconds: 3),
);
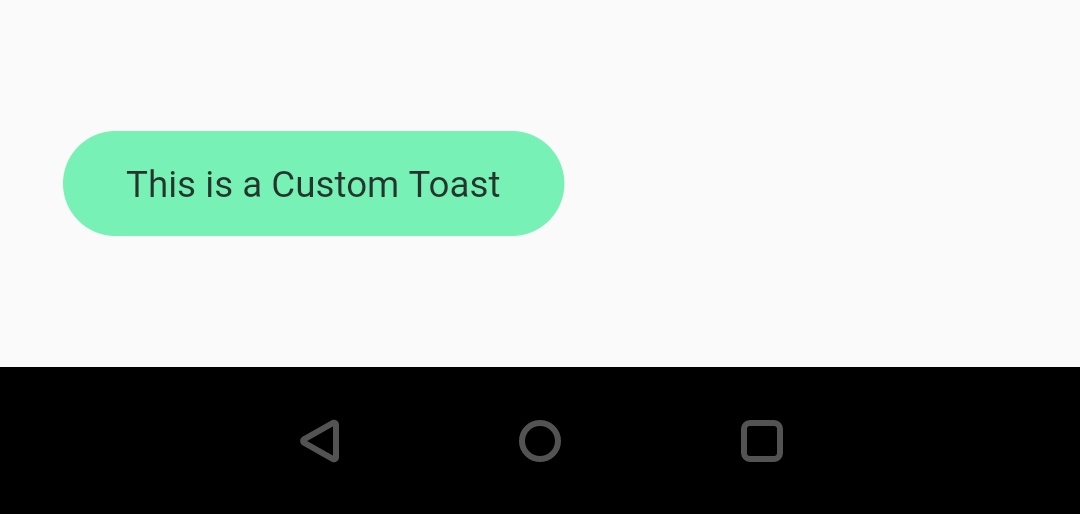
gravity
It takes constants of ToastGravity like BOTTOM_LEFT, BOTTOM_RIGHT, BOTTOM etc. In this example i will use ToastGravity.BOTTOM_LEFT. Try the rest for yourself. By default the gravity will be BOTTOM.
fToast.showToast(
        child: toast,
        toastDuration: Duration(seconds: 3),
        gravity: ToastGravity.BOTTOM_LEFT,
);
Output :
fadeDuration
It takes int as value. We will use this property to define how long the toast message should fade before appearing on screen.
fToast.showToast(
        child: toast,
        toastDuration: Duration(seconds: 3),
        fadeDuration: 2000,
);
Output :
positionedToastBuilder
It takes a builder function as value. We will use this property if we want to position the toast message at custom position on the screen other than the constant values of ToastGravity discussed above.
fToast.showToast(
        child: toast,
        toastDuration: Duration(seconds: 3),
        fadeDuration: 2000,
        positionedToastBuilder: (context, child) {
          return Positioned(
            child: child,
            top: 160.0,
            left: 16.0,
          );
        });
Output :

Flutter Toast With Icon
We can also display a toast with icon or a button using custom toast message in flutter. Lets display a toast message with icon to the left of the message. Copy and paste the below code snippet inside onPressed callback of any button or widget. If you want to display a button instead of icon just replace the icon widget with button widget.
Widget toast = Container(
      padding: const EdgeInsets.symmetric(horizontal: 24.0, vertical: 12.0),
      decoration: BoxDecoration(
        borderRadius: BorderRadius.circular(25.0),
        color: Colors.greenAccent,
      ),
      child: Row(
        mainAxisSize: MainAxisSize.min,
        children: [
          Icon(Icons.check),
          SizedBox(
            width: 12.0,
          ),
          Text("Deleted"),
        ],
      ),
    );

    fToast.showToast(
        child: toast,
        toastDuration: Duration(seconds: 3),
        );
Output :
Flutter Toast & Custom Toast Example
Lets see an example which shows the usage of FlutterToast dependency for creating toast message and custom toast message in flutter. In this example we will display two elevated buttons, one for displaying normal toast message and the other for displaying custom toast message. We will create two functions showToast() & showCustomToast(). We will call these functions inside onPressed() callbacks of their respective buttons.
import 'package:flutter/cupertino.dart';
import 'package:flutter/material.dart';
import 'package:flutter/widgets.dart';
import 'package:fluttertoast/fluttertoast.dart';

void main()
{
  runApp(MyApp());
}

class MyApp extends StatelessWidget {
  @override
  Widget build(BuildContext context) {
    return MaterialApp(
      title: 'Flutter Learning',
      theme: ThemeData(
        primarySwatch: Colors.green,
      ),
      home: MyHomePage(),
    );
  }
}

class MyHomePage extends StatefulWidget {
  @override
  _MyHomePageState createState()
  {
    return _MyHomePageState();
  }
}

class _MyHomePageState extends State<MyHomePage> {
  FToast fToast;

  @override
  void initState() {
    super.initState();
    fToast = FToast();
    fToast.init(context);
  }

  @override
  Widget build(BuildContext context) {
    return Scaffold(
        appBar: AppBar(
          title: Text("Flutter Toast"),
        ),
        body: Container(
          margin: EdgeInsets.all(20),
          alignment: Alignment.topCenter,
          child: Column(
            children: [
              ElevatedButton(
              child: Text("Show Toast"),
                onPressed: () {
                  showToast();
                },
              ),
              ElevatedButton(
                child: Text("Show Custom Toast"),
                onPressed: () {
                  showCustomToast();
                },
              ),
            ],
          ),
        )
    );
  }

  void showToast() {
    Fluttertoast.showToast(
      msg: "Hi Codesinsider !!",
      toastLength: Toast.LENGTH_SHORT,
    );
  }

  showCustomToast() {
    Widget toast = Container(
      padding: const EdgeInsets.symmetric(horizontal: 24.0, vertical: 12.0),
      decoration: BoxDecoration(
        borderRadius: BorderRadius.circular(25.0),
        color: Colors.greenAccent,
      ),
      child: Text("This is a Custom Toast"),
    );

    fToast.showToast(
        child: toast,
        toastDuration: Duration(seconds: 3),
        );
  }
Output :
That brings an end to the tutorial on how to create and show toast & custom toast in flutter. We have also seen an example where we’ve used FlutterToast dependency for adding toast functionality to our flutter project. Let’s catch up with some other widget in the next post. Have a great day !!
Do like & share my facebook page. Subscribe to newsletter if you find this post helpful. Thank you !!
Reference : FlutterToast Dependency


Leave a Reply