Pull to refresh (swipe to refresh) feature can be implemented in flutter using RefreshIndicator widget. Pull (swipe) to refresh feature lets the user refresh current data or fetch updated data from the server by pulling down on a list. For example, let’s say we’ve fetched some data from the server. After fetching data some data on the server is updated. So we can use the pull to refresh (swipe to refresh) feature for getting the updated data.
Pull (swipe) to refresh feature is commonly used to refresh listview and gridview in flutter. In this tutorial, we will implement pull (swipe) to refresh feature in flutter with example. Flutter provides a widget called RefreshIndicator for implementing this feature. Remember that we can implement this feature only with components that are scrollable.
Flutter RefreshIndicator
RefreshIndicator is a material widget in flutter that lets us implement a pull (swipe) to refresh feature. When the refresh indicator’s child (Usually a ListView / GridView) is over scrolled by the user a circular progress indicator appears. If the user drags the indicator far enough and releases it, the onRefresh callback will be invoked.
Usually, we will write the code for updating the content of the scrollable child (ListView / GridView) inside this callback. Once the data is fetched the refresh indicator will disappear.
Creating RefreshIndicator in flutter
To create a RefreshIndicator in flutter call the constructor of RefreshIndicator class and provide required properties. There are two required properties child & onRefresh for RefreshIndicator widget. Where the child is a scrollable widget & onRefresh is a callback to update the data.
Flutter RefreshIndicator Constructor :
const RefreshIndicator(

    {Key? key,
    required Widget child,
    double displacement,
    double edgeOffset,
    required RefreshCallback onRefresh,
    Color? color,
    Color? backgroundColor,
    ScrollNotificationPredicate notificationPredicate,
    String? semanticsLabel,
    String? semanticsValue,
    double strokeWidth,
    RefreshIndicatorTriggerMode triggerMode}

)
Basic implementation of RefreshIndicator.
RefreshIndicator(
        onRefresh: () async {
          //Do whatever you want on refrsh.Usually update the date of the listview
        },
        child:ListView()
)
Flutter RefreshIndicator Properties
The properties of a RefreshIndicator are :
- color
- backgroundColor
- strokeWidth
- edgeOffset
- triggerMode
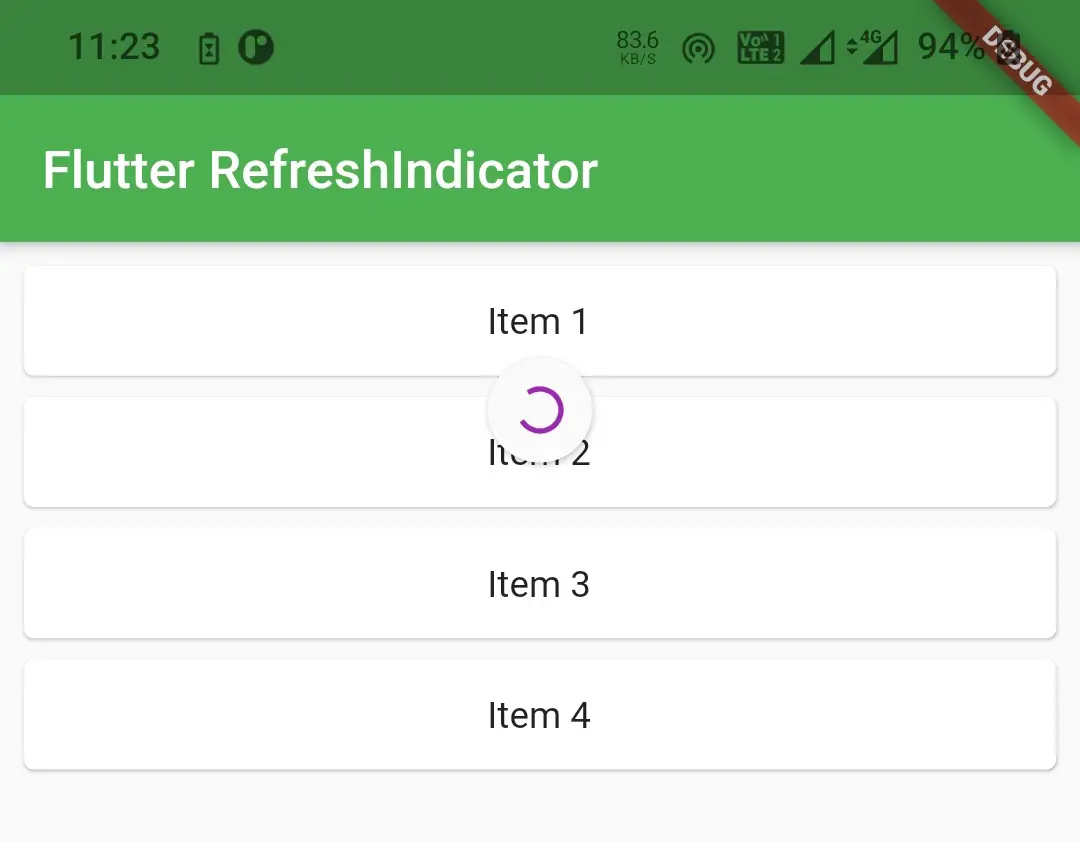
color
It takes Material Color as value. Use this property to change the color of the refresh indicator.
RefreshIndicator(
        onRefresh: () async {
          //Do whatever you want on refrsh.Usually update the date of the listview
        },
        child:ListView(),
        color: Colors.purple,
)
Output :
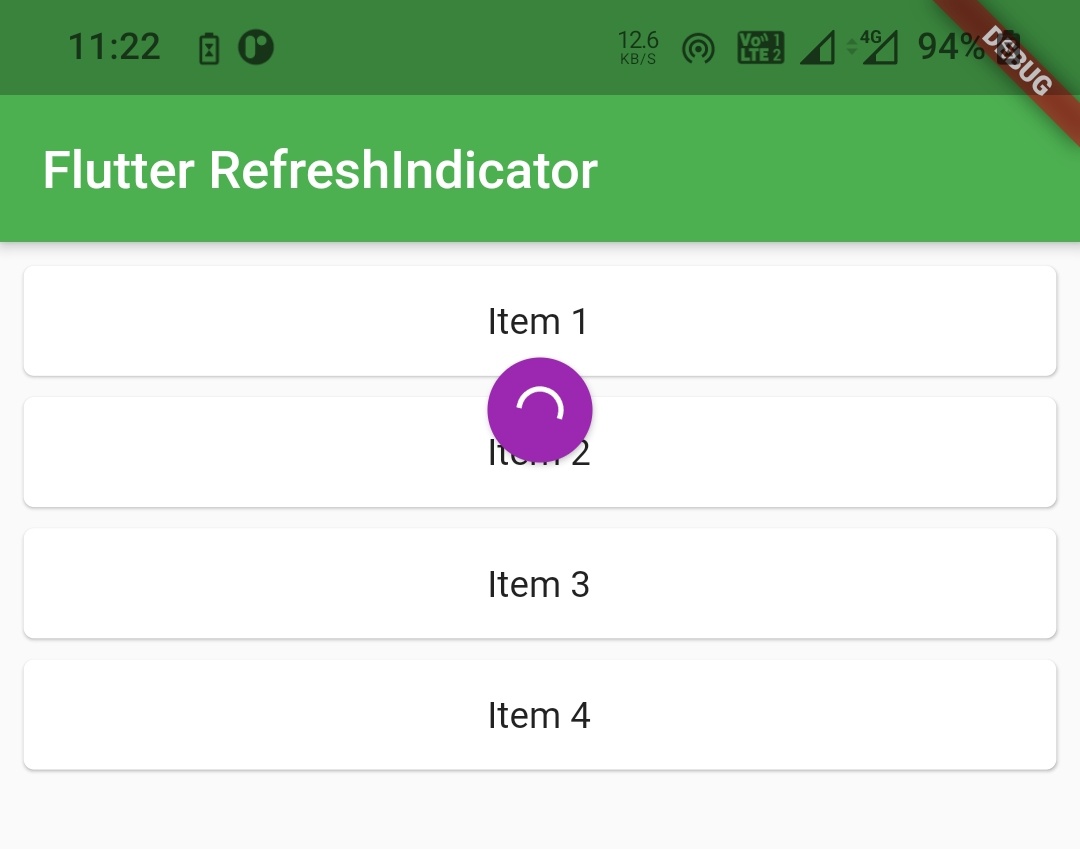
backgroundColor
It takes Material Color as value, Use this property to change the background color of the refresh indicator.
RefreshIndicator(
        onRefresh: () async {
          //Do whatever you want on refrsh.Usually update the date of the listview
        },
        child:ListView(),
        color: Colors.white,
        backgroundColor: Colors.purple
)
Output :
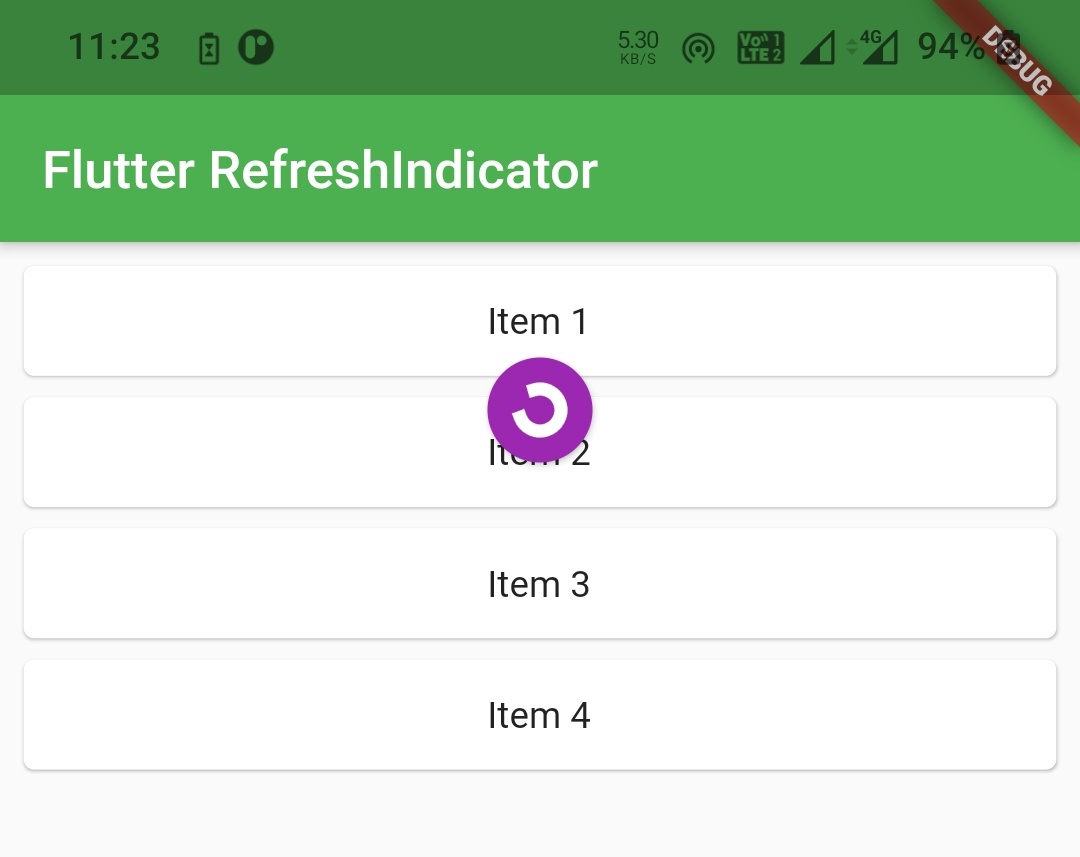
strokeWidth
It takes double as value. Use this property to change the width / thickness of the refresh indicator. By default the value is 2.0.
RefreshIndicator(
        onRefresh: () async {
          //Do whatever you want on refrsh.Usually update the date of the listview
        },
        child:ListView(),
        color: Colors.white,
        backgroundColor: Colors.purple,
        strokeWidth: 5
)
Output :
edgeOffset
It takes double as value. The offset where RefreshProgressIndicator starts to appear on drag start.
Depending whether the indicator is showing on the top or bottom, the value of this variable controls how far from the parent’s edge the progress indicator starts to appear. By default the value is 0.
RefreshIndicator(
        onRefresh: () async {
          //Do whatever you want on refrsh.Usually update the date of the listview
        },
        child:ListView(),
        color: Colors.white,
        backgroundColor: Colors.purple,
        strokeWidth: 5,
        edgeOffset: 50
)
triggerrMode
It takes RefreshIndicatorTriggerMode enum as value. It has two values anywhere & onEdge. By default the value is onEdge. When the value is onEdge, we should pull from top edge to trigger the refresh indicator. When it is anywhere, we can drag anywhere on the list to trigger the indicator.
RefreshIndicator(
        onRefresh: () async {
          //Do whatever you want on refrsh.Usually update the date of the listview
        },
        child:ListView(),
        color: Colors.white,
        backgroundColor: Colors.purple,
        triggerMode: RefreshIndicatorTriggerMode.anywhere,
)
Flutter Pull (Swipe) To Refresh Example Using RefreshIndicator
This example demonstrates the use of RefreshIndicator for adding the pull (swipe) to refresh feature to our flutter app. In this example, we will create a refresh indicator and add Listview as a child to it. We will be generating the items of ListView using a List of strings. When we pull down it will add 1 item to the list and update the UI. So, let’s get into the code.
First, we will create the List called data.
List<String> data = [
   "Item 1",
   "Item 2",
   "Item 3",
   "Item 4",
 ];
Now, create a function updateData() and call it inside the onRefresh callback. Inside this function, we will get the length of the above List (data ) into a variable ( i in our case). Increment the value of the variable by 1, concatenate it with a string like “Item $i” and add it to the list. Update the UI by using setState and that’s it.
updateData() :
void updateData() {
    int i = data.length+1;
    data.add("Item $i");
    setState(() {

    });
 }
Add ListView as a child and call the above function inside onRefresh callback of the RefreshIndicator. To make the indicator appear longer I’m providing two seconds delay.
RefreshIndicator(
        onRefresh: () async {
          await Future.delayed(Duration(seconds: 2));
          updateData();
        },
        child:ListView(
          children: List.generate(data.length, (index) =>
          Card(
            child: Container(
              alignment: Alignment.center,
              child:Text(data[index]),
            ),
          ),
          ),
          shrinkWrap: true,
          padding: EdgeInsets.all(5),
          scrollDirection: Axis.vertical,
          itemExtent: 50,
        ),
        color: Colors.white,
        backgroundColor: Colors.purple,
        triggerMode: RefreshIndicatorTriggerMode.anywhere,
      )
Sum up all the code snippets above to complete the swipe / pull to refresh feature using RefreshIndicator in flutter. Create a new flutter project and replace the code in main.dart file with the code below.
import 'package:flutter/cupertino.dart';
import 'package:flutter/material.dart';

void main() {
  runApp(MyApp());
}

class MyApp extends StatelessWidget {
  @override
  Widget build(BuildContext context) {
    return MaterialApp(
      title: 'Flutter App Learning',
      theme: ThemeData(
        primarySwatch: Colors.green,
      ),
      home: MyHomePage()
    );
  }
}

class MyHomePage extends StatefulWidget {
  MyHomePage({Key? key}) : super(key: key);
  @override
  _MyHomePageState createState() => _MyHomePageState();
}

class _MyHomePageState extends State<MyHomePage> {
 List<String> data = [
   "Item 1",
   "Item 2",
   "Item 3",
   "Item 4",
 ];
  @override
  Widget build(BuildContext context) {
    return Scaffold(
      appBar: AppBar(
        title: Text("Flutter ListView"),
      ),
      body: RefreshIndicator(
        onRefresh: () async {
          await Future.delayed(Duration(seconds: 2));
          updateData();
        },
        child:ListView(
          children: List.generate(data.length, (index) =>
          Card(
            child: Container(
              alignment: Alignment.center,
              child:Text(data[index]),
            ),
          ),
          ),
          shrinkWrap: true,
          padding: EdgeInsets.all(5),
          scrollDirection: Axis.vertical,
          itemExtent: 50,
        ),
        color: Colors.white,
        backgroundColor: Colors.purple,
        triggerMode: RefreshIndicatorTriggerMode.anywhere,
      )
    );
  }
 void updateData(){
    int i = data.length+1;
    data.add("Item $i");
    setState(() {

    });
 }
}
Output :
That’s all about the tutorial on how to implement the pull (swipe) to refresh feature in flutter using the RefreshIndicator widget. We have also seen an example where we implemented the same. Let’s catch up with some other widget in the next post. Have a great day !!
Do like & share my Facebook page. Subscribe to the newsletter if you find this post helpful. Thank you !!
Reference : Flutter Official Documentation.


Leave a Reply