
In android ImageView is used to display images in android application.Its hard to develop a beautiful android application without using images.In this example tutorial we will see how to implement imagview in android studio and display images in android application.
Android ImageView
Android imageView is a user interface control used to display images in android application.The images can be resource files, image urls or bitmaps.ImageView supports different scale types that scales the image bounds to imageview bounds.
Check this android UI controls tutorial to know more about UI controls.
Defining Imageview in XML(layout)
<?xml version="1.0" encoding="utf-8"?>
<LinearLayout xmlns:android="http://schemas.android.com/apk/res/android"
    xmlns:app="http://schemas.android.com/apk/res-auto"
    xmlns:tools="http://schemas.android.com/tools"
    android:layout_width="match_parent"
    android:layout_height="match_parent"
    android:orientation="vertical"
    tools:context=".MainActivity">

    <ImageView
        android:layout_width="match_parent"
        android:layout_height="wrap_content"
        android:src="@drawable/back"/>

</LinearLayout>
Defining ImageView in JAVA
package com.codesinsider;

import androidx.appcompat.app.AppCompatActivity;

import android.os.Bundle;
import android.widget.ImageView;

public class MainActivity extends AppCompatActivity {

    private ImageView image;
    @Override
    protected void onCreate(Bundle savedInstanceState) {
        super.onCreate(savedInstanceState);
        setContentView(R.layout.activity_main);

        ImageView image = new ImageView(this);
    }
}
Android Imageview
Android ImageView Supporting Multiple Device Screen Densities
In android there is a beautiful mechanism where the image is selected based on the screen density of the device.There are 5 specific directories present in res>drawable folder like drawable-mdpi, drawable-hdpi, drawable-xhdpi, drawable-xxhdpi, drawable-xxxhdpi for different device densities.For example hdpi stands for high dots per inch.
Lets see the image dimentions for different screen densities below.
mdpi – 48*48
hdpi – 72*72
xhdpi – 96*96
xxhdpi – 144*144
xxxhdpi – 192*192
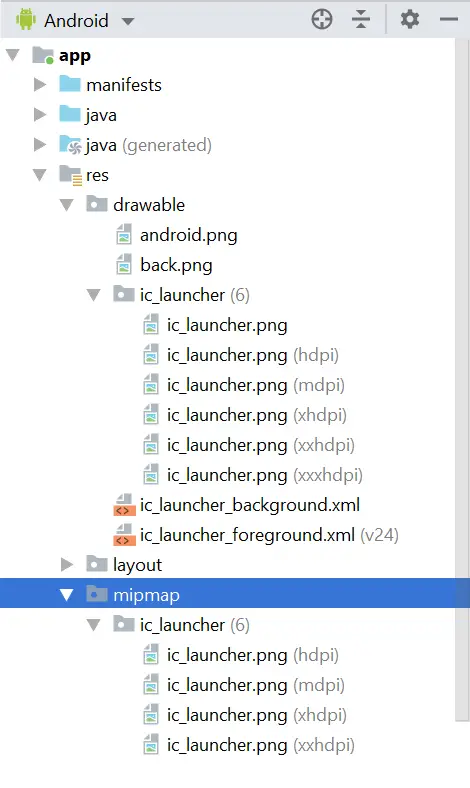
Adding Images Into Resources Directory
We have to add the same image with above mentioned dimentions into their corresponding folders so that the device selects the image based on its screen density.For example if the device screen density belong to medium category it will select the image from the drawable-mdpi directory.
The same theory applies to mipmap director in res>mipmap.
You can refer android’s official documentation for Screen Support and drawable Resources for more information regarding screen densities and drawable resources.
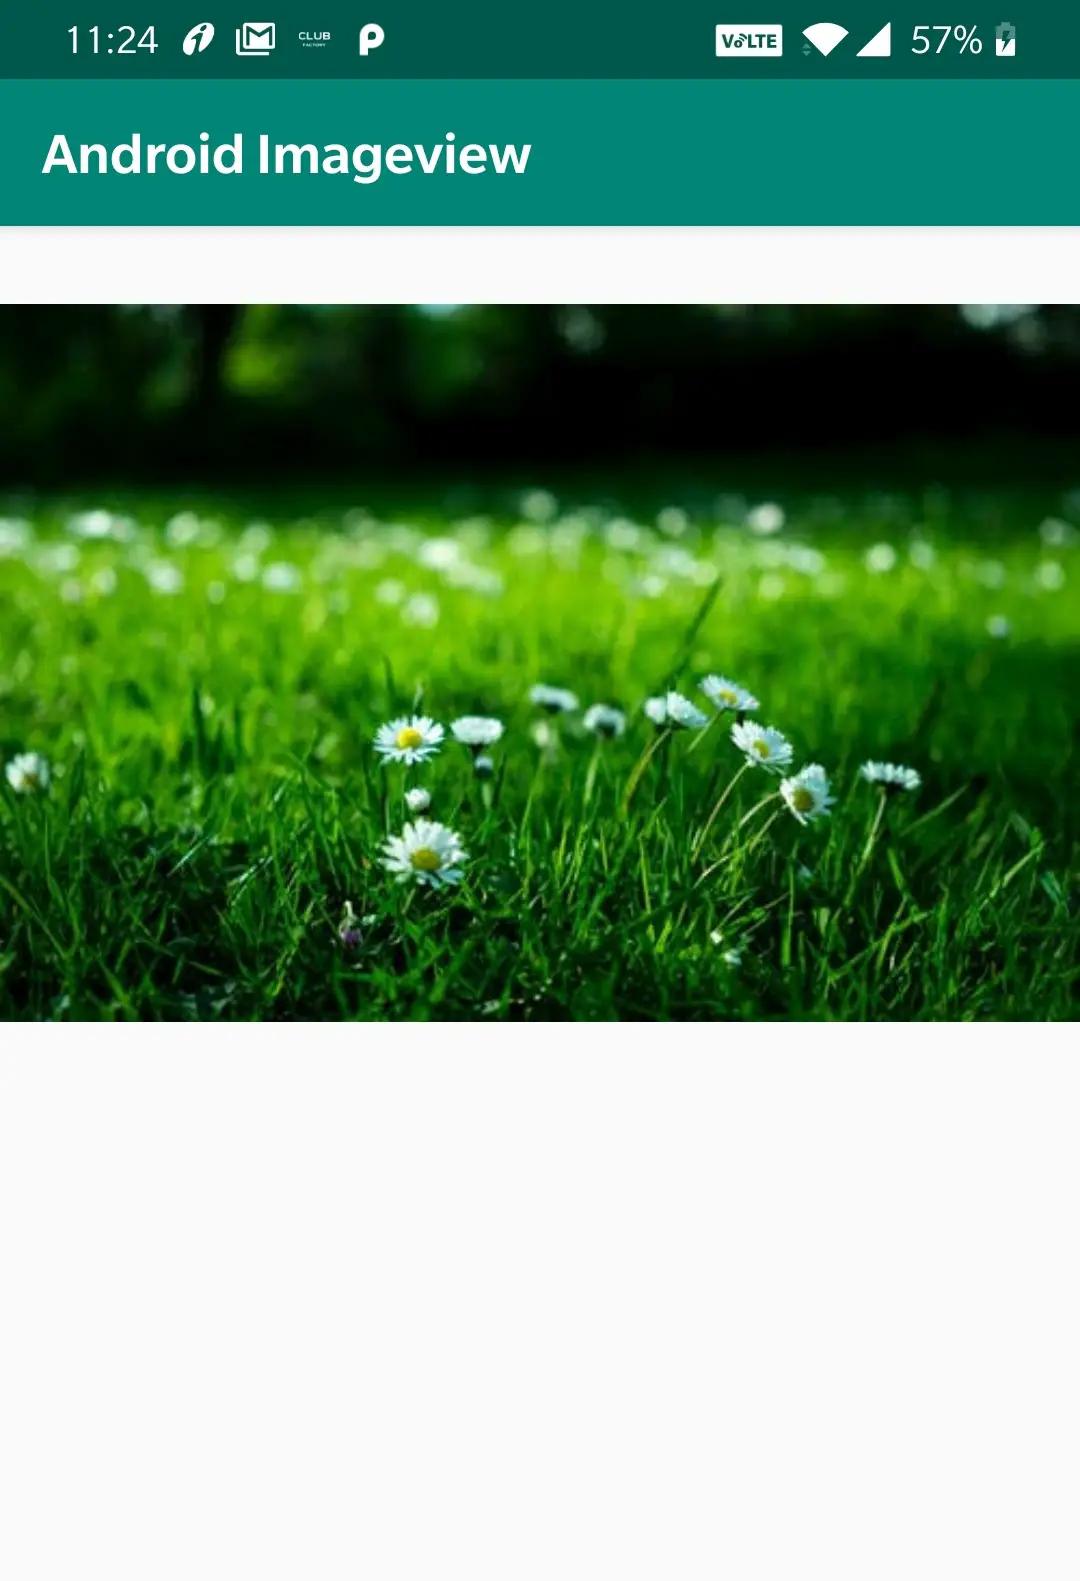
Setting Image to Imageview in XML
src attribute is used to set an image to imageview in android.Its nothing but image source.
Setting image to imageview using src attribute in XML.
<ImageView
        android:layout_width="match_parent"
        android:layout_height="wrap_content"
        android:src="@drawable/back"/>
Setting Image to Imageview in JAVA
In android we can set image to imageview in different ways like from resource directory, from image url and image bitmap etc,.
Setting image to imageview from drawable folder
ImageView image = new ImageView(this);
image.setImageResource(R.drawable.back);
In the above code snippets we are setting image which is present in drawable folder to imageview which means we are using local image to display in imageview
Setting imageUrl to imageview
ImageView image = new ImageView(this);
image.setImageURI(Uri.parse("your image url"));
Setting imageBitmap to imageview
ImageView image = (ImageView) findViewById(R.id.image);
Bitmap b = BitmapFactory.decodeResource(getResources(), R.drawable.car);
image.setImageBitmap(b);
Android Imageview Scaletypes
Android imageview comes with support for different scaleTypes.
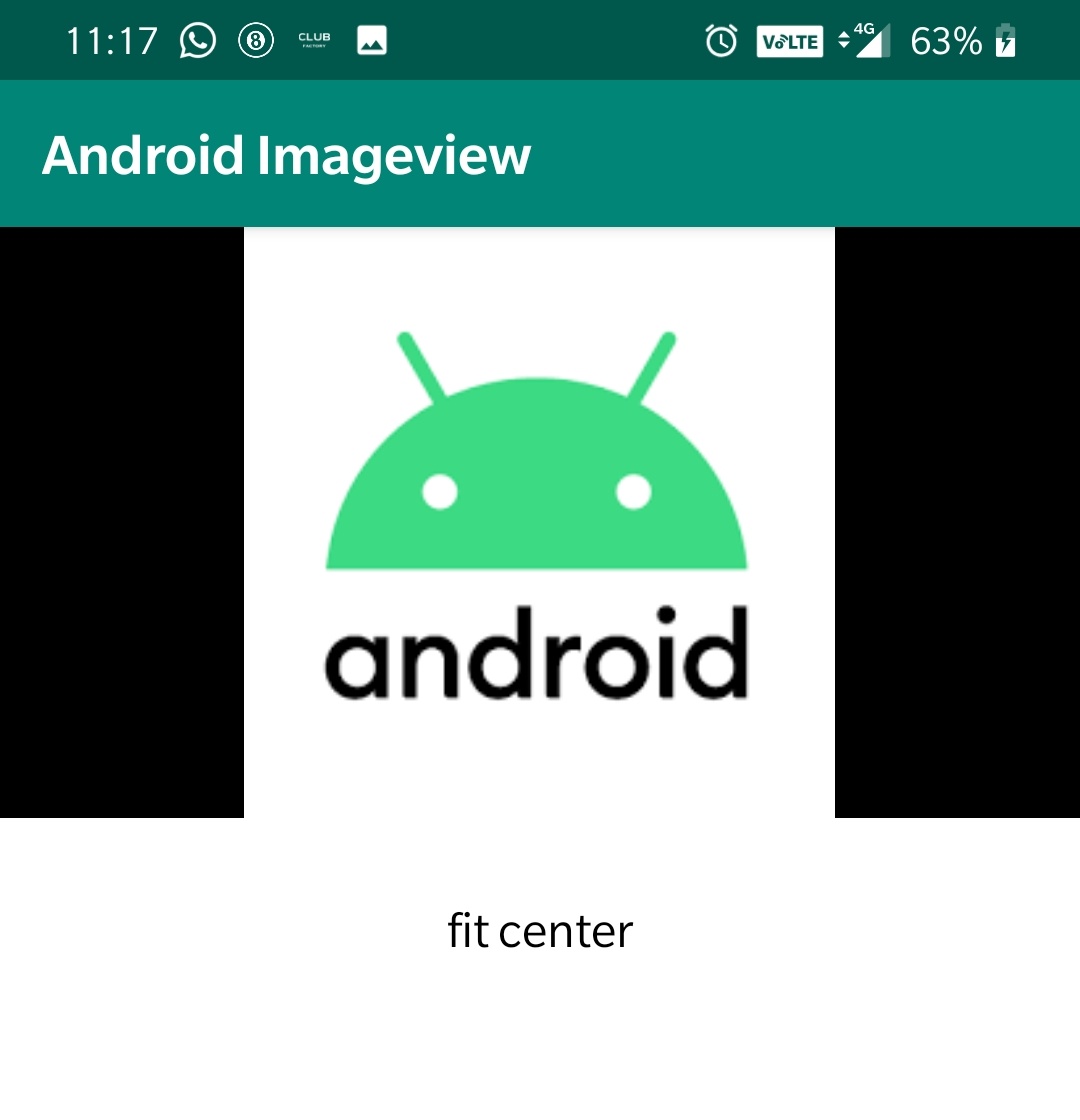
scaleType attribute is used for scaling the bounds of an image to the bounds of image view.By default the scaletype is fitCenter.
Lets see the list of values for scaleType attribute.
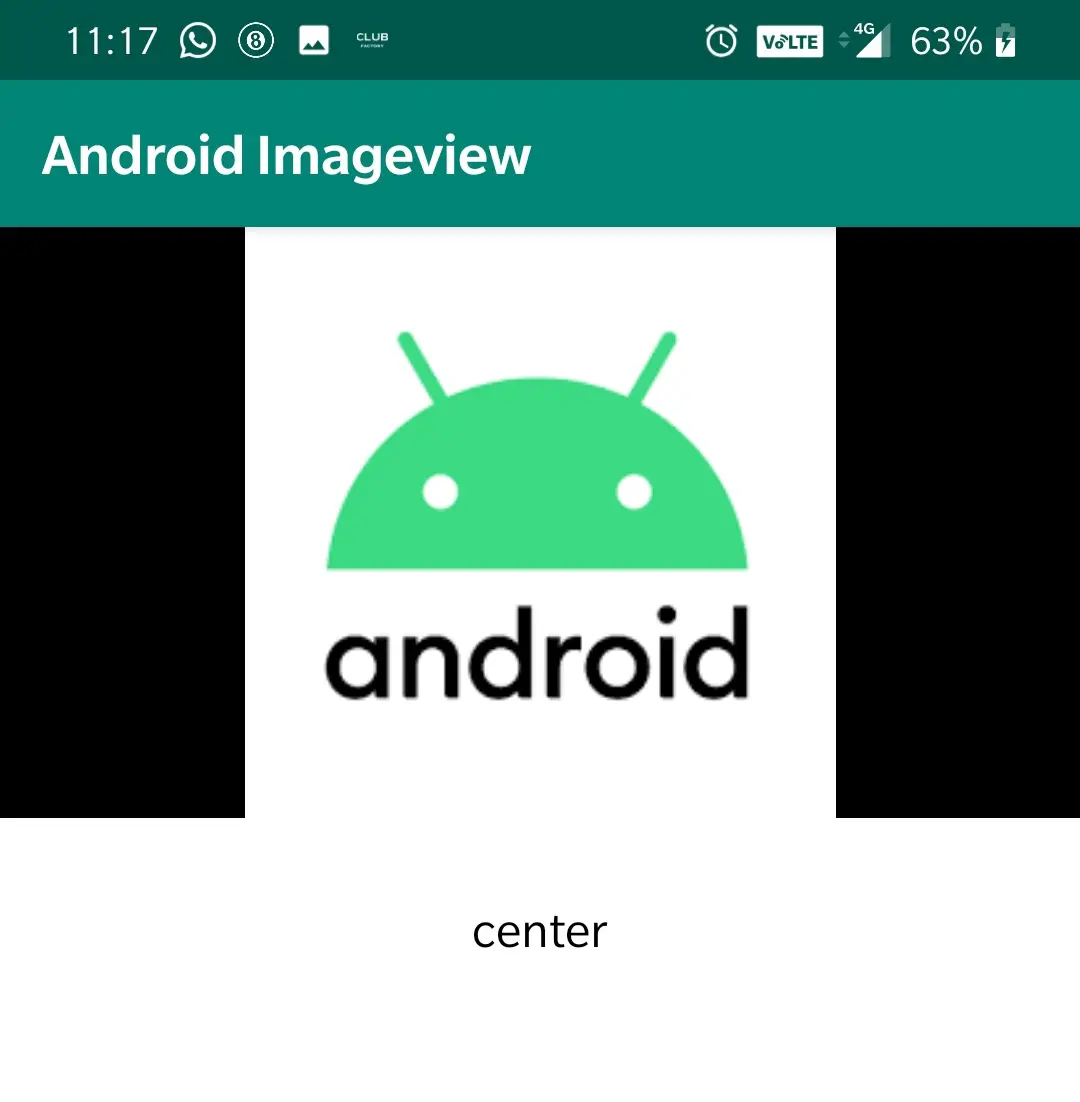
center : Setting this value will keep the image centered in imageview without an scaling.
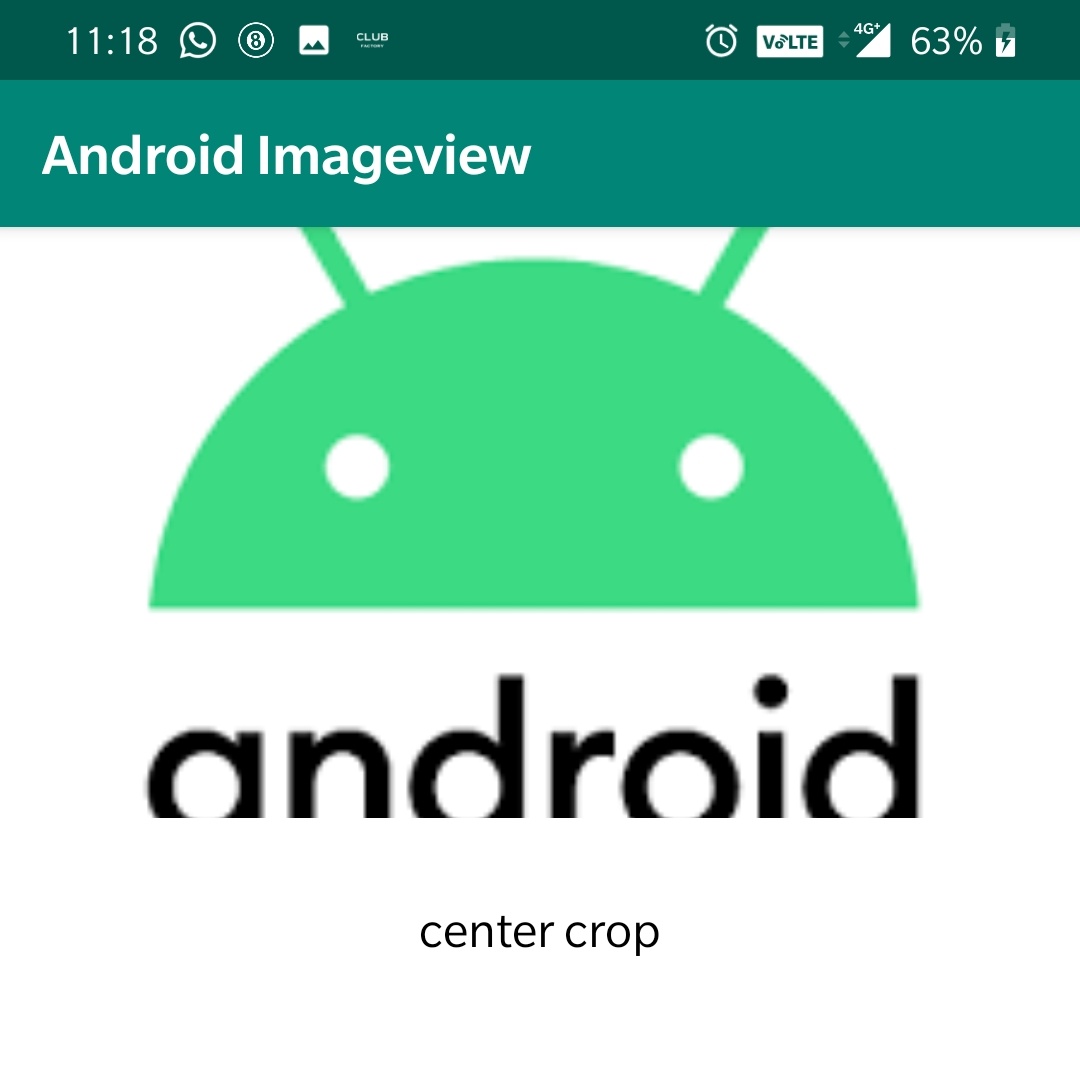
centerCrop : This value will scale the image in such a way that both X and Y dimentions are greaterthan or equal to imageview and centers the image in imageview.
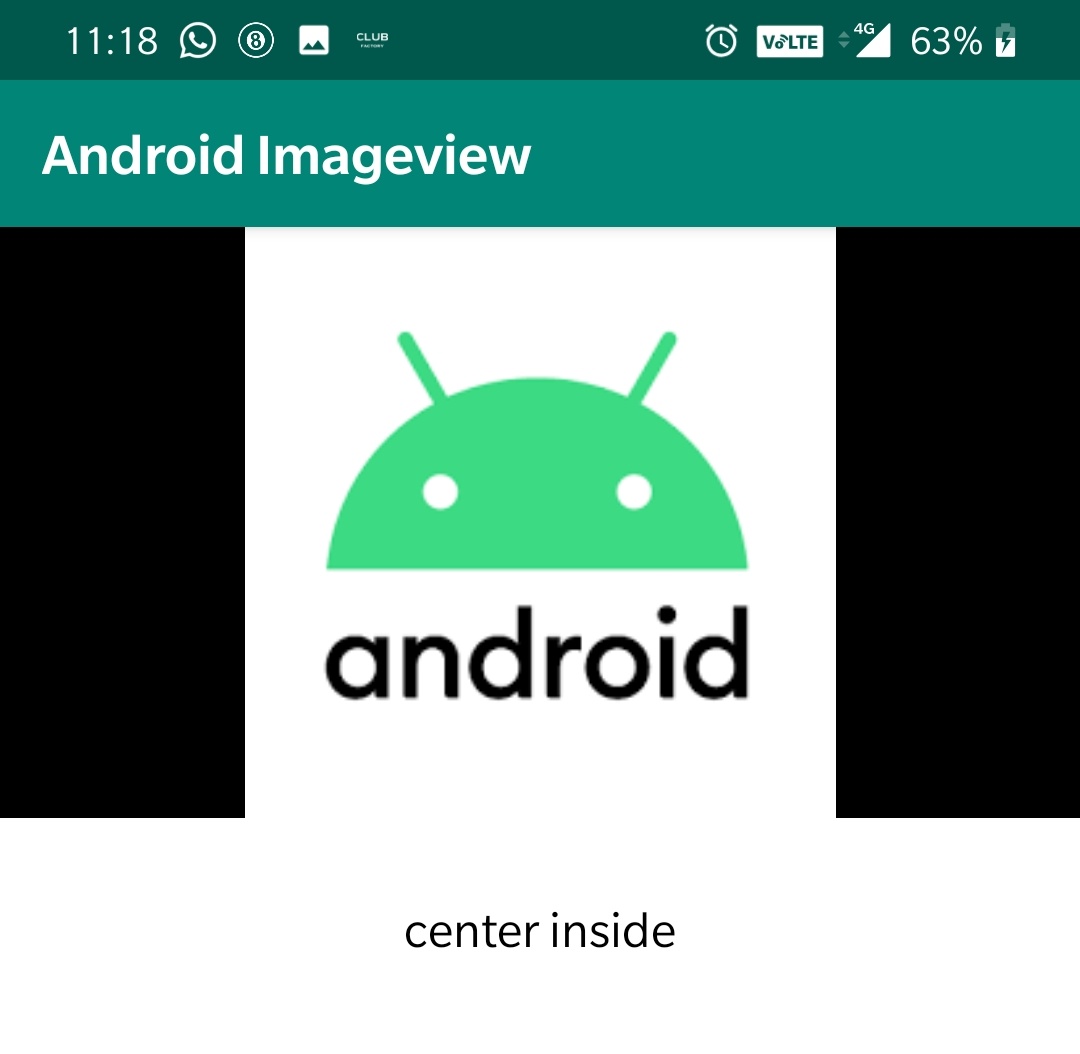
centerInside : Scales the image to fit inside the imageview, while maintaining the image aspect ratio.
fitCenter : Scales the image to fit inside the imageview, while maintaining the image aspect ratio. At least one axis will exactly match the imageview, and the result is centered inside the imageview.
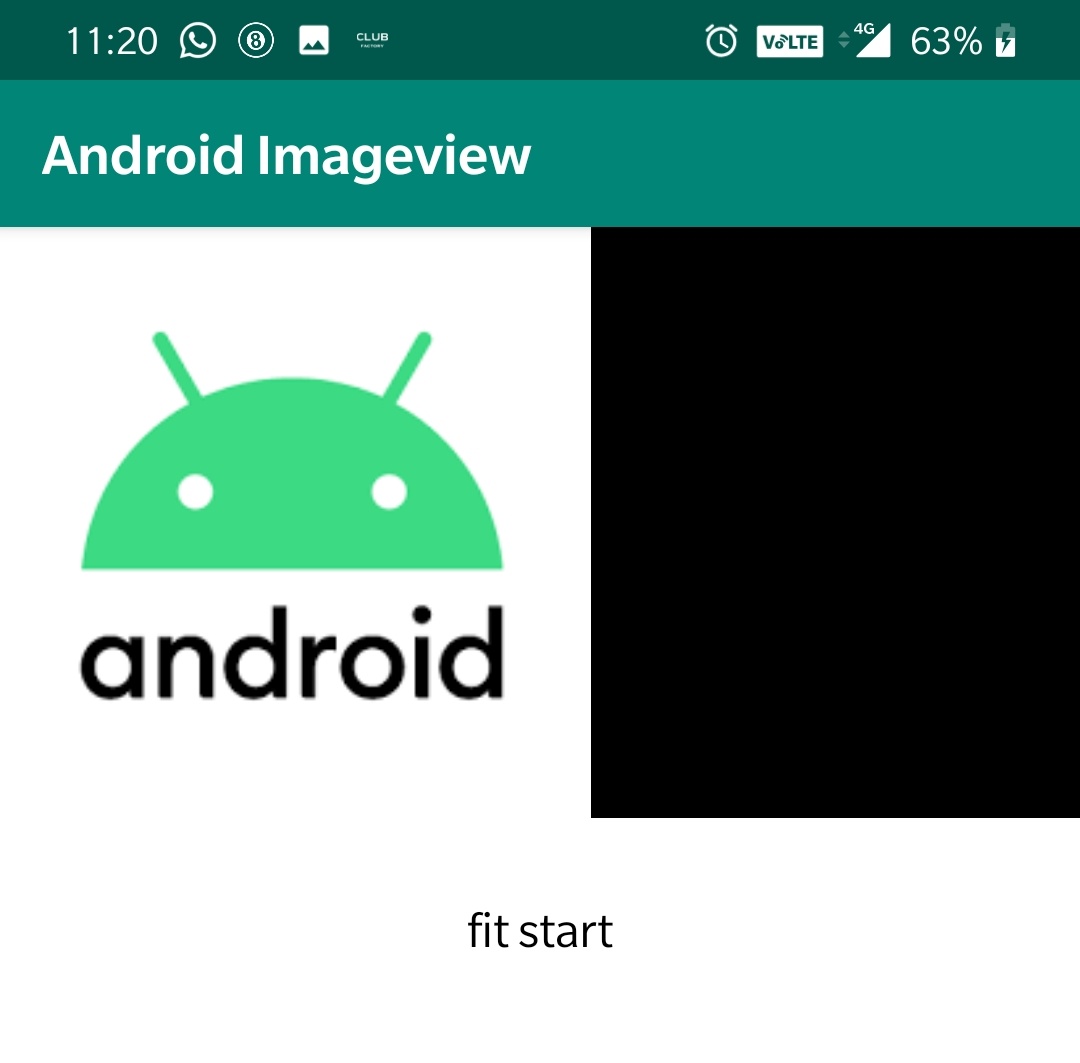
fitStart : Same as fitCenter but aligned to the top left of the view.
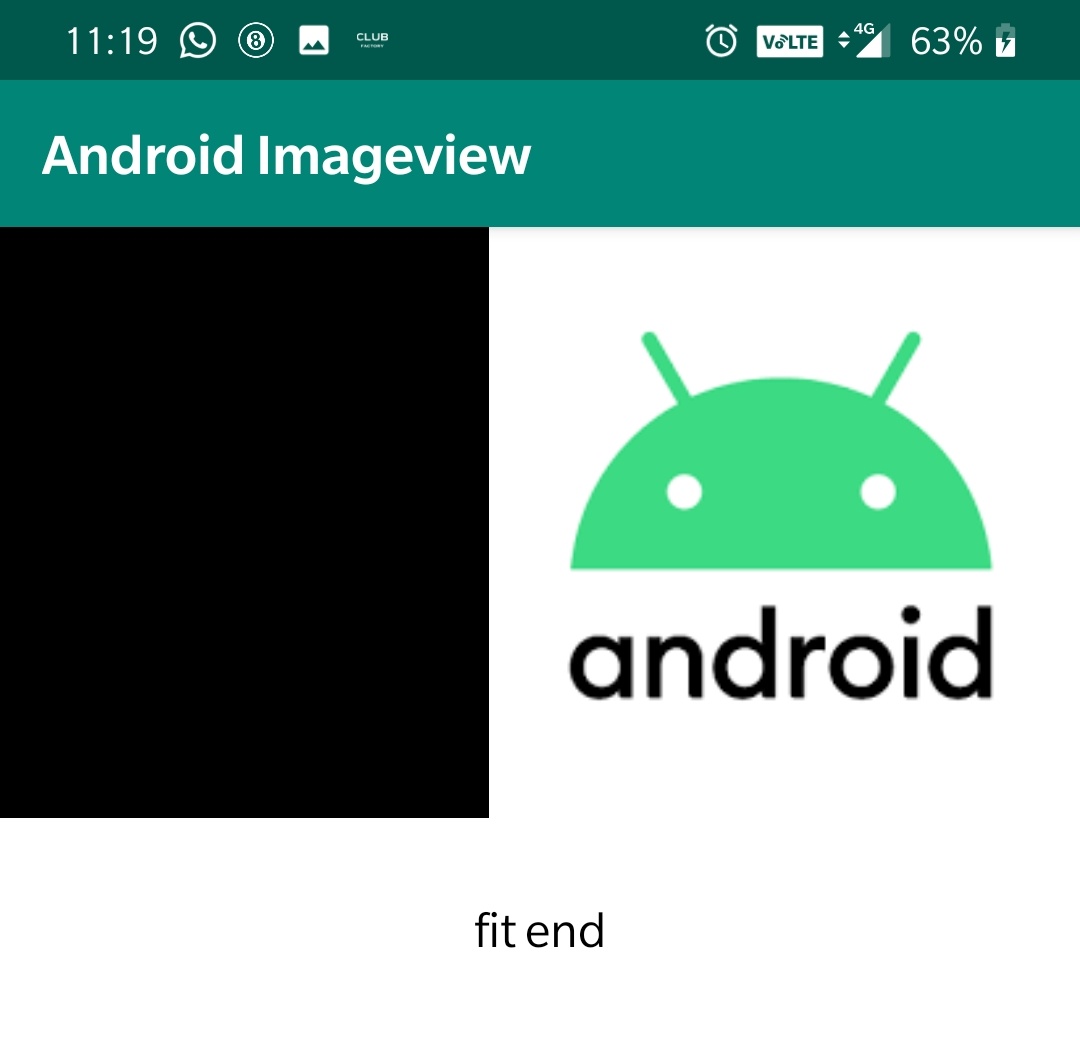
fitEnd : Same as fitCenter but aligned to the bottom right of the view.
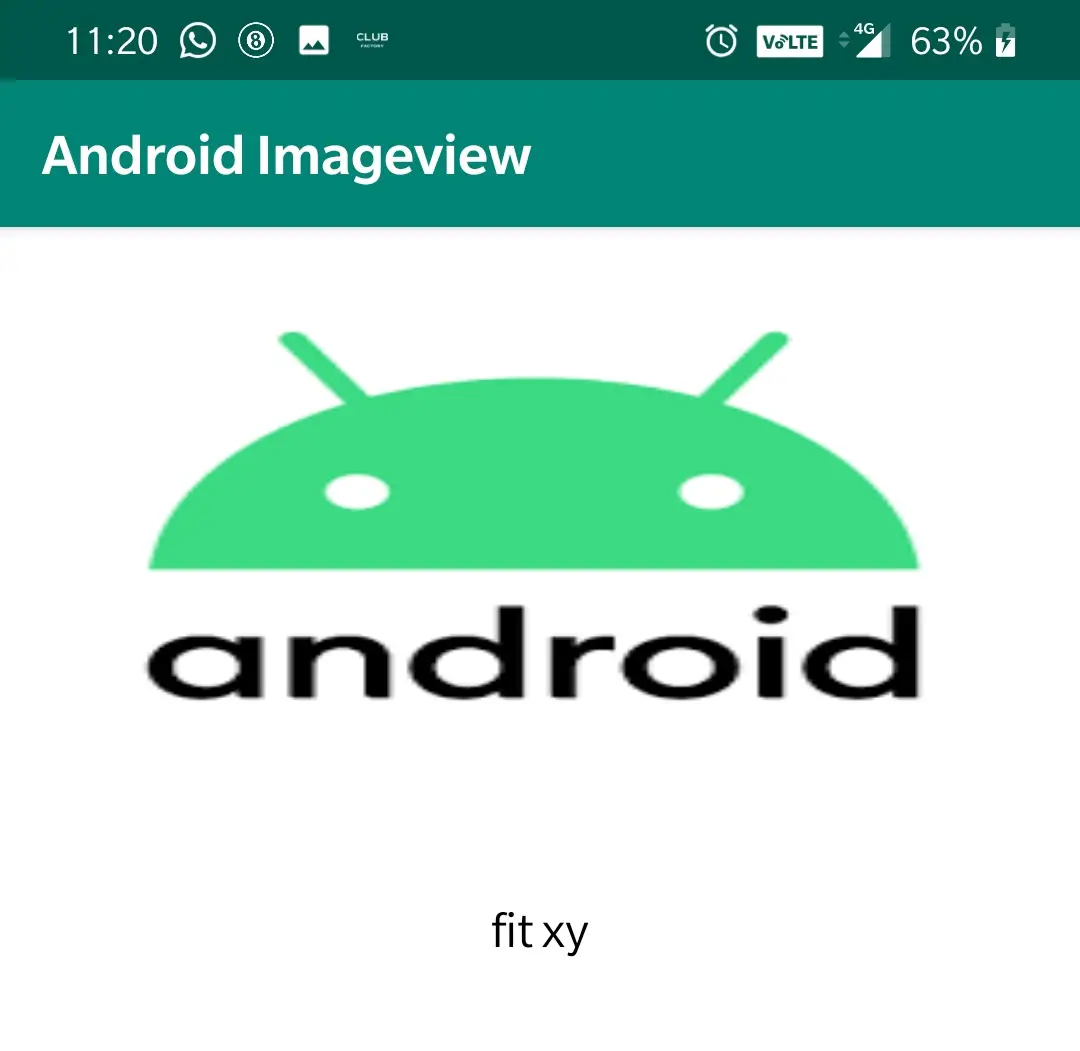
fitXY : Scales the x and y dimensions to exactly match the view size; does not maintain the image aspect ratio.
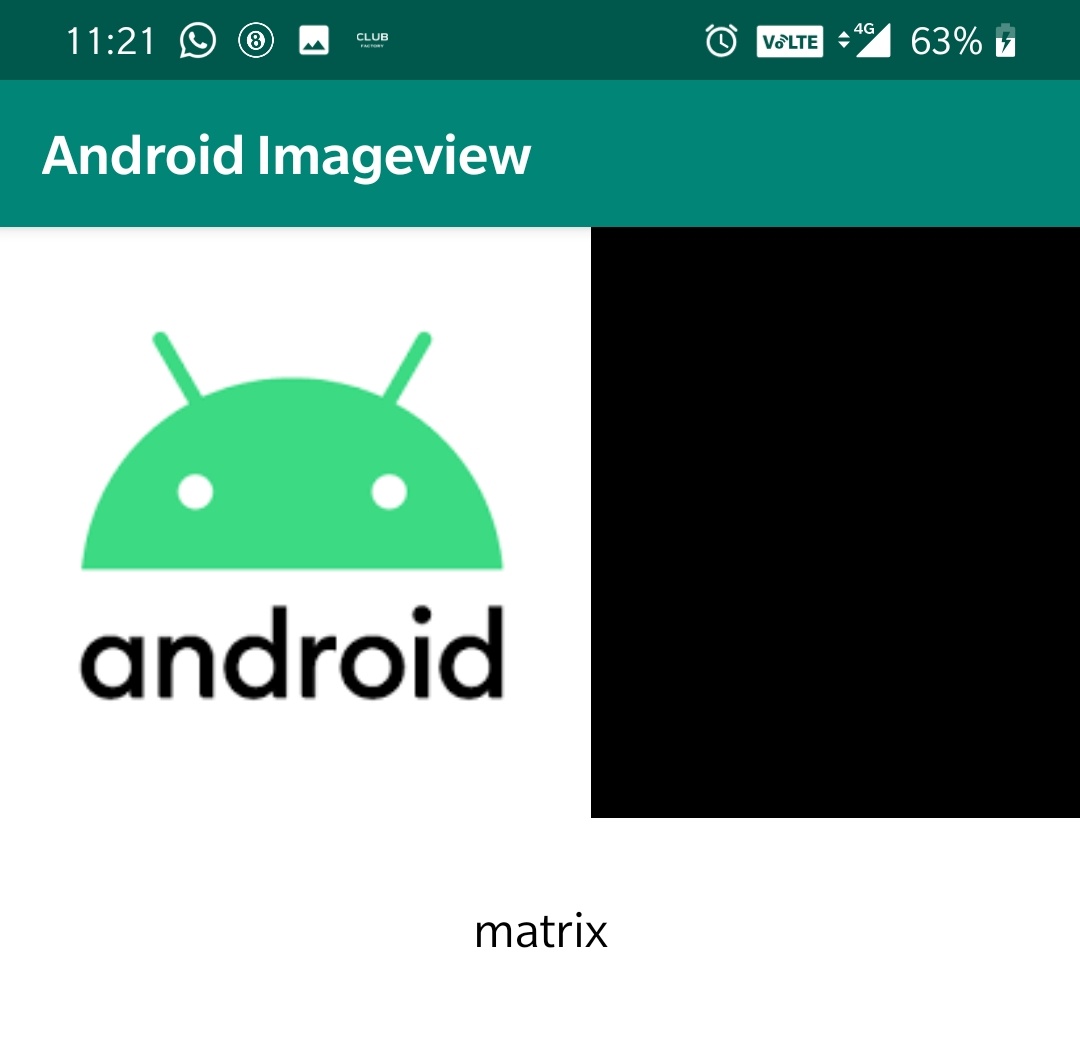
matrix : Scales the image using a supplied Matrix class. The matrix can be supplied using the setImageMatrix method. A Matrix class can be used to apply transformations such as rotations to an image.
This brings to an end of android imageview example tutorial.We will discuss about other controls in the next posts.
Do like and share if you find this post helpful.Thank you!!


Leave a Reply