
This tutorial shows you how to use ActionChip widget in flutter.
Flutter ActionChip Widget
ActionChip is a material widget in flutter. The name itself suggests that they are used to trigger some action. Action chips should be created dynamically based on the context of the primary content. We can’t disable an action chip so it’s better not to display it to the user without its purpose. Flutter provides a widget called ActionChip which allows us to add an action chip to our application.
Other types of chips are Chip, ChoiceChip, InputChip & FilterChip.
Creating ActionChip
To create action chip in flutter we have to call the constructor of ActionChip class provided by flutter. ActionChip has two required properties label and onPressed callback. Without using these properties we cannot create an action chip. We have to set the label with a widget, usually a text widget. The onPressed callback is used to perform any action when the chip is pressed.
Flutter ActionChip Constructor :
 ActionChip(
    {Key? key,
    Widget? avatar,
    required Widget label,
    TextStyle? labelStyle,
    EdgeInsetsGeometry? labelPadding,
    required VoidCallback onPressed,
    double? pressElevation,
    String? tooltip,
    BorderSide? side,
    OutlinedBorder? shape,
    Clip clipBehavior,
    FocusNode? focusNode,
    bool autofocus,
    Color? backgroundColor,
    EdgeInsetsGeometry? padding,
    VisualDensity? visualDensity,
    MaterialTapTargetSize? materialTapTargetSize,
    double? elevation,
    Color? shadowColor}
)
Lets see the example code to add action chip to our flutter application.
ActionChip(
          label:Text("Codesinsider"),
          onPressed: ()
          {},
        ),
Flutter ActionChip Properties
The important properties of action chip widget are :
- avatar
- label
- labelStyle
- labelPadding
- onPressed
- pressElevation
- side
- shape
- backgroundColor
- padding
- elevation
- shadowColor
avatar
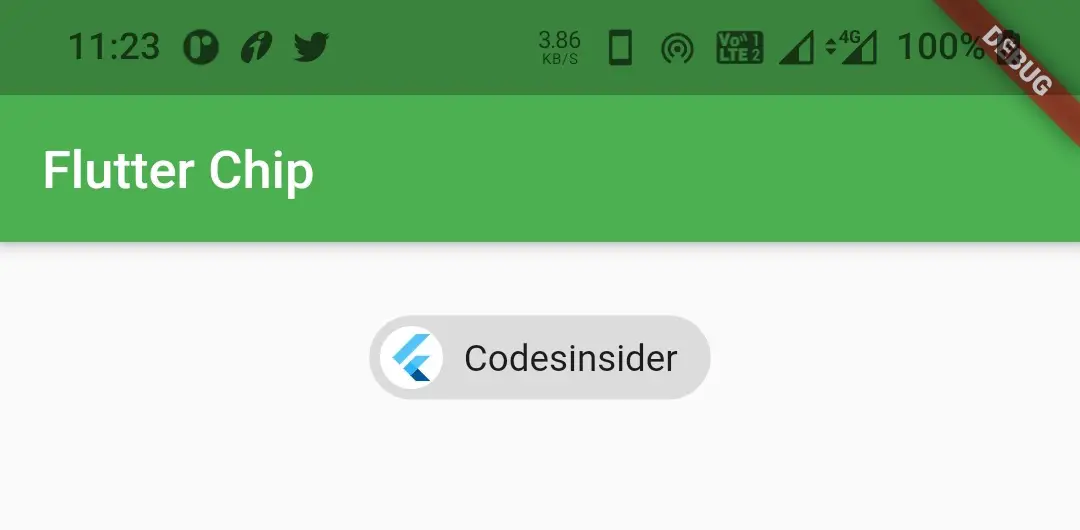
We will use this property to add an avatar to the action chip.
Container(
        alignment: Alignment.topCenter,
        margin: EdgeInsets.only(top: 20),
        child: ActionChip(
          avatar: CircleAvatar(
            child: FlutterLogo(size: 20,),
            backgroundColor: Colors.white,
          ),
          label:Text("Codesinsider"),
          onPressed: ()
          {},
        ),
      )
Output :
labelStyle
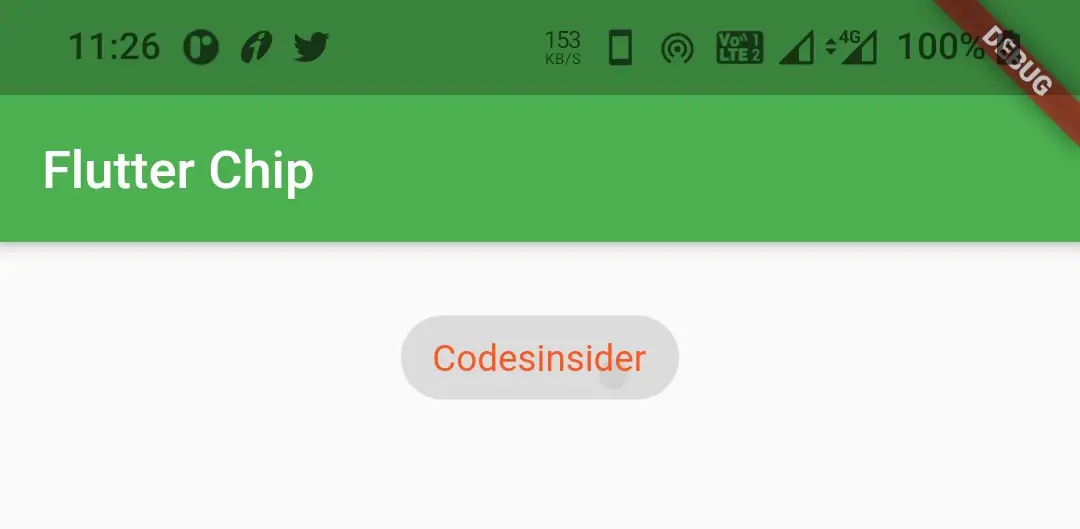
We will use this property to apply style to the label like changing font size, font family, text color etc. In the below example i will change the text color.
Container(
        alignment: Alignment.topCenter,
        margin: EdgeInsets.only(top: 20),
        child: ActionChip(
          label:Text("Codesinsider"),
          labelStyle: TextStyle(color: Colors.deepOrange),
          onPressed: ()
          {},
        ),
      )
Output :
onPressed
We will use this property to perform some action when we press the chip.
Container(
        alignment: Alignment.topCenter,
        margin: EdgeInsets.only(top: 20),
        child: ActionChip(
          label:Text("Codesinsider"),
          labelStyle: TextStyle(color: Colors.deepOrange),
          onPressed: ()
          {
            //do whatever you want when the user taps the chip
          },
        ),
      )
pressElevation
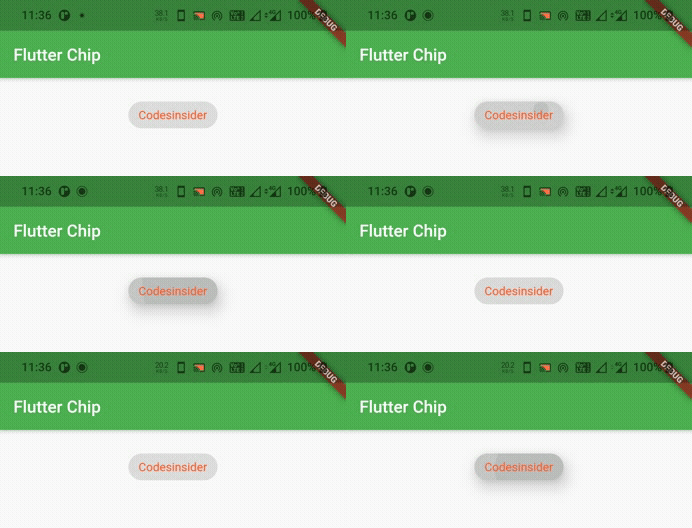
We will use this property to provide elevation when the chip is pressed.
Container(
        alignment: Alignment.topCenter,
        margin: EdgeInsets.only(top: 20),
        child: ActionChip(
          label:Text("Codesinsider"),
          labelStyle: TextStyle(color: Colors.deepOrange),
          onPressed: ()
          {
            //do whatever you want when the user taps the chip
          },
          pressElevation: 15,
        ),
      )
Output :
side
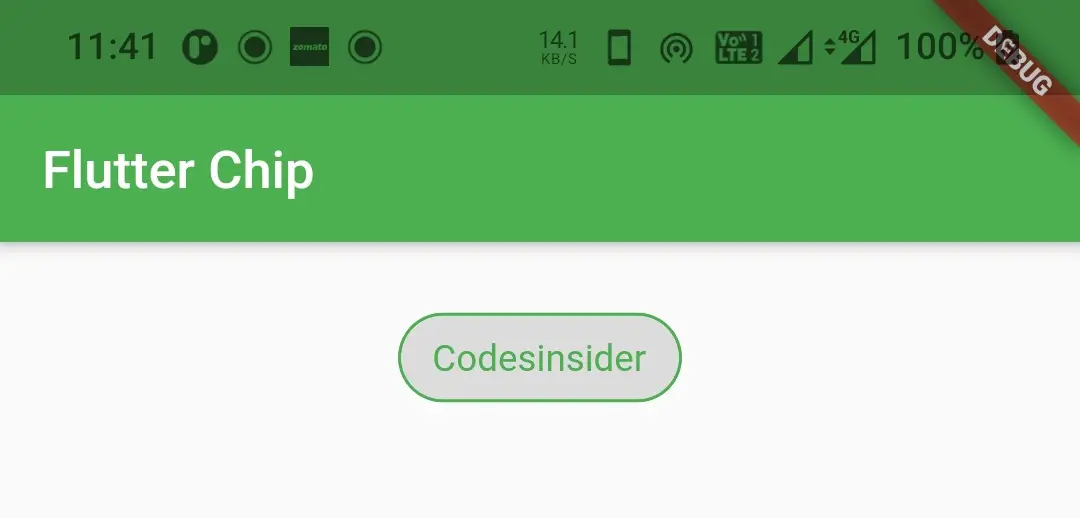
We will use this property to apply border to the action chip.
Container(
        alignment: Alignment.topCenter,
        margin: EdgeInsets.only(top: 20),
        child: ActionChip(
          label:Text("Codesinsider"),
          labelStyle: TextStyle(color: Colors.green),
          onPressed: ()
          {
            //do whatever you want when the user taps the chip
          },
          pressElevation: 15,
          side: BorderSide(color: Colors.green, width: 1),
        ),
      )
Output :
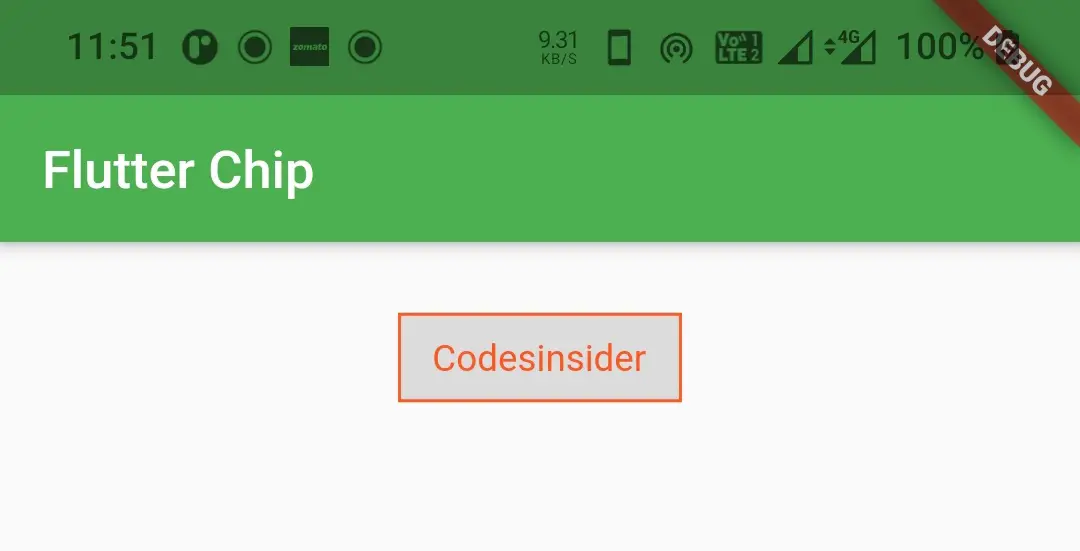
shape
Use this property to change the shape of the action chip. I will use RoundedRectangleBorder shape in the below example. If you wanna try other shapes refer flutter RaisedButton example.
Container(
        alignment: Alignment.topCenter,
        margin: EdgeInsets.only(top: 20),
        child: ActionChip(
          label:Text("Codesinsider"),
          labelStyle: TextStyle(color: Colors.deepOrange),
          onPressed: ()
          {
            //do whatever you want when the user taps the chip
          },
          pressElevation: 15,
          shape:RoundedRectangleBorder(
              side: BorderSide(color: Colors.deepOrange)
          )
        ),
      )
Output :
backgroundColor
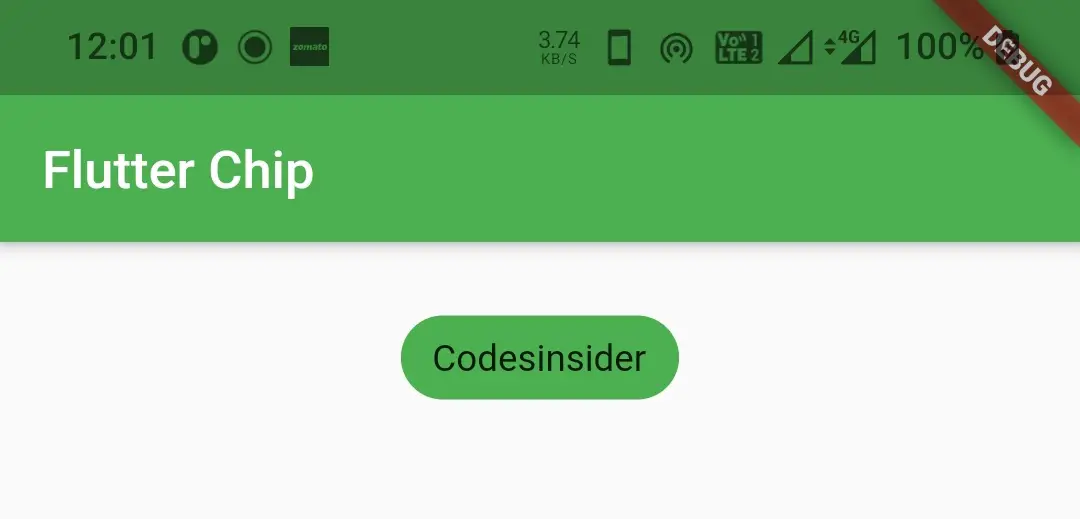
We will use this property to change the background color of the action chip.
 Container(
        alignment: Alignment.topCenter,
        margin: EdgeInsets.only(top: 20),
        child: ActionChip(
          label:Text("Codesinsider"),
          onPressed: ()
          {
            //do whatever you want when the user taps the chip
          },
          backgroundColor: Colors.green,
        ),
      )
Output :
elevation
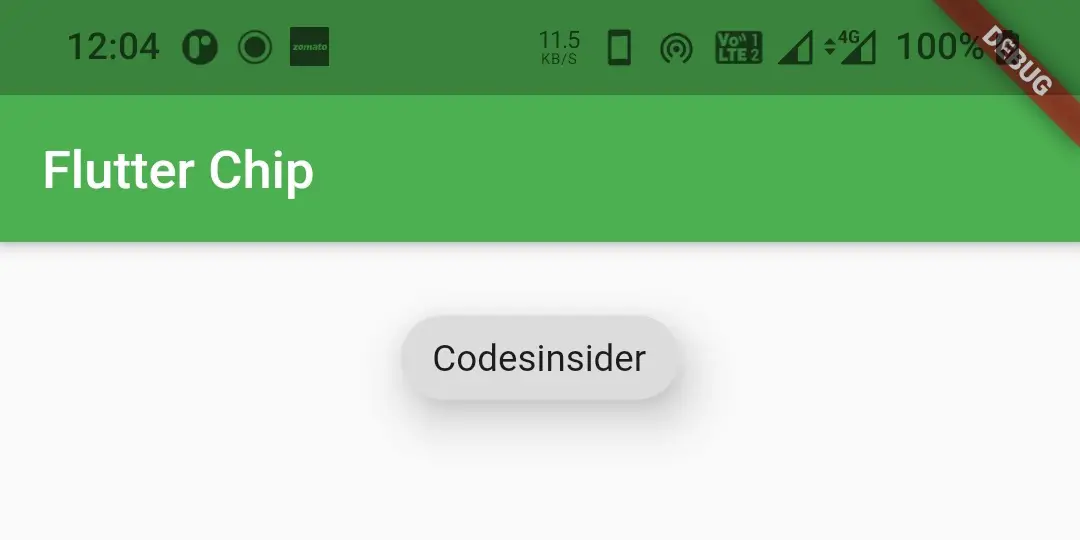
We will use this property to apply elevation to the chip.
Container(
        alignment: Alignment.topCenter,
        margin: EdgeInsets.only(top: 20),
        child: ActionChip(
          label:Text("Codesinsider"),
          onPressed: ()
          {
            //do whatever you want when the user taps the chip
          },
          elevation: 15,
        ),
      )
Output :
shadowColor
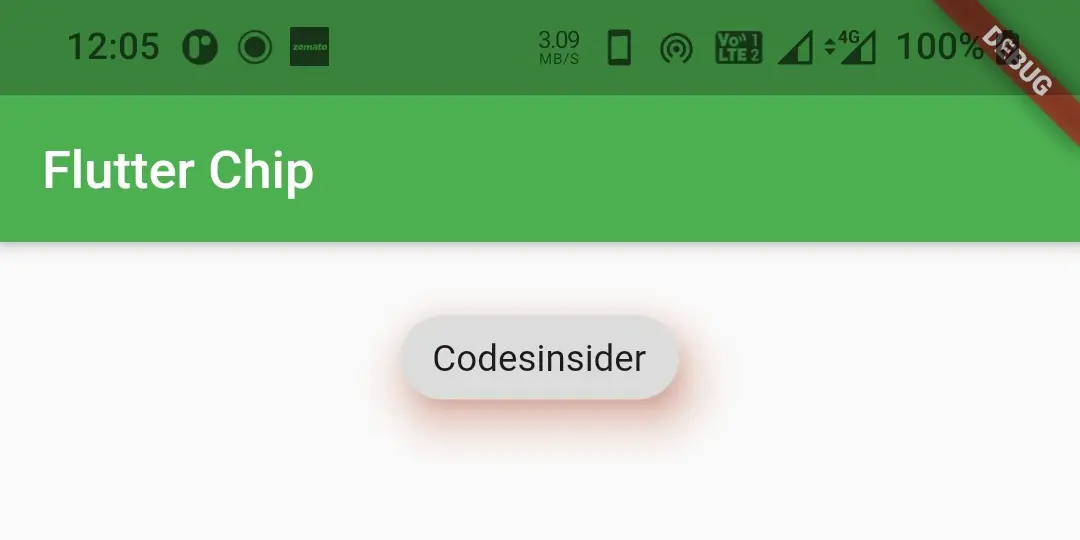
We will use this property to apply color to the shadow which appears when the chip has elevation.
Container(
        alignment: Alignment.topCenter,
        margin: EdgeInsets.only(top: 20),
        child: ActionChip(
          label:Text("Codesinsider"),
          onPressed: ()
          {
            //do whatever you want when the user taps the chip
          },
          elevation: 15,
          shadowColor: Colors.deepOrange,
        ),
      )
Output :
Flutter ActionChip Example
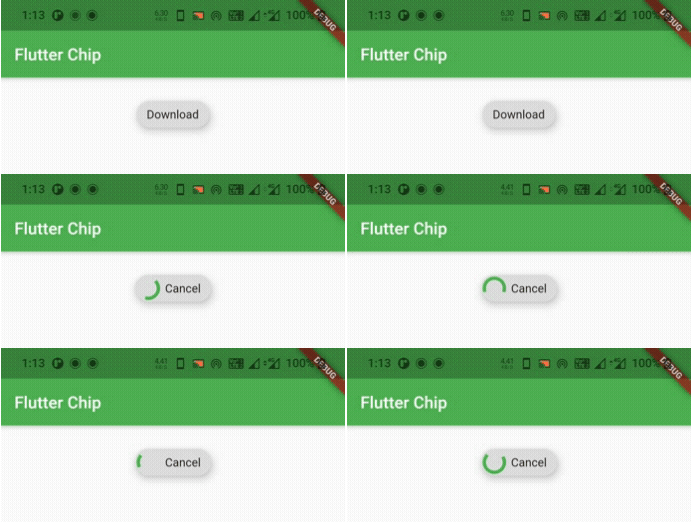
Lets create an example which shows the use of ActionChip in flutter. In this example we will display an action chip which on pressing will show a progress indicator. For this example we need to use ActionCip Widget and CircularProgressIndicator widget.
import 'package:flutter/cupertino.dart';
import 'package:flutter/material.dart';
import 'package:flutter/widgets.dart';
void main()
{
  runApp(MyApp());
}

class MyApp extends StatelessWidget {
  @override
  Widget build(BuildContext context) {
    return MaterialApp(
      title: 'Flutter Learning',
      theme: ThemeData(
        primarySwatch: Colors.green,
      ),
      home: MyHomePage(),
    );
  }
}

class MyHomePage extends StatefulWidget {
  @override
  _MyHomePageState createState()
  {
    return _MyHomePageState();
  }
}

class _MyHomePageState extends State<MyHomePage> {
  bool selected = false;
  @override
  Widget build(BuildContext context) {
    return Scaffold(
        appBar: AppBar(
          title: Text("Flutter Chip"),
        ),
        body: Container(
          alignment: Alignment.topCenter,
          margin: EdgeInsets.only(top: 20),
          child: ActionChip(
            avatar: selected? CircularProgressIndicator() : null,
            label: Text(selected? "Cancel" : "Download"),
            onPressed: () {
              selected = !selected;
              setState(() {

              });
            },
            elevation: 8
          ),
        )
    );
  }
}
Output :
That brings an end to the tutorial on how to create and display or show ActionChip in flutter. We have also seen an example where we’ve used ActionChip widget and customized it. Let’s catch up with some other widget in the next post. Have a great day!!
Do like & share my facebook page. Subscribe to newsletter if you find this post helpful. Thank you!!
Reference : Flutter Official Documentation.


Leave a Reply