
Flutter Cupertino Popup Surface
Cupertino popup surface in flutter is nothing but an ios like (style) popup surface or bottom sheet. CupertinoPopupSurface widget lets us create a popup surface like ios. It is similar to bottom sheet in android. A popup surface will display above the contents of the screen. This behaviour will help us to display addition details in the same screen without navigating to another screen. When the popup surface appears we can’t interact with other components of the screen. We can dismiss it by tapping outside the popup surface or by using Navigator.pop(). Generally we will use popup surfaces in cases like editing information or sharing content etc.
Don’t know what Cupertino is? it is nothing but a set of flutter widgets that follow the ios design pattern. These widgets are designed to implement ios features in flutter apps built for the ios platform.
In this tutorial, we will learn how to use cupertino popup surface in flutter with example. We will also learn how to customize the CupertinoPopupSurface widget using different properties
To implement popup surface for android platform using flutter consider using bottom sheet in flutter.
How To Create Cupertino Popup Surface In Flutter?
To create a cupertino popup surface in flutter we have to call the constructor of CupertinoPopupSurface class and provide required properties. The CupertinoPopupSurface widget has no required properties. Since there is no point in displaing an empty popp surface we have to add atleast the child.
The cupertino popup surface is not intended to display continuously. We have to display it when an event triggers. For example, on click of a button or any action. To display a cupertino popup surface we have to use it along with showCupertinoModalPopup or showCupertinoDialog function. We have to return the CupertinoPopupSurface widget to the builder of the function that we use to display the popup surface.
Constructor:
CupertinoPopupSurface(
{Key? key,
 bool isSurfacePainted,
 Widget? child}
)
Flutter Cupertino Popup Surface Properties
The properties of a cupertino popup surface are:
- child
- isSurfacePainted
child
We will use this property to add content to cupertino popup surface. It takes a widget as value.
return CupertinoPopupSurface(
            child: Container(
                alignment: Alignment.center,
                width: MediaQuery.of(context).size.width,
                height: MediaQuery.of(context).copyWith().size.height*0.35,
                child: Material(
                    child: Text("This is a popup surface")
                )
            ),
            isSurfacePainted: true,
        );
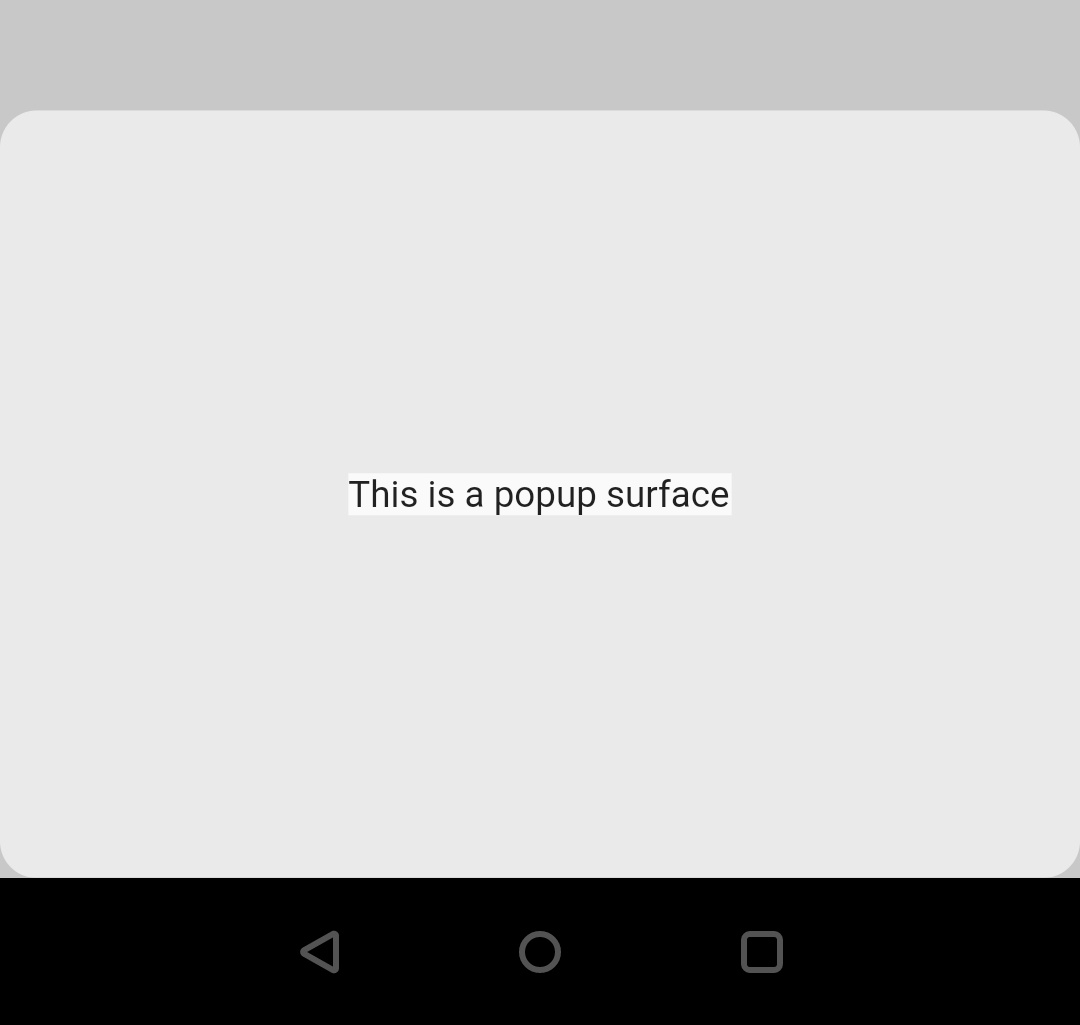
Output:
isSurfacePainted
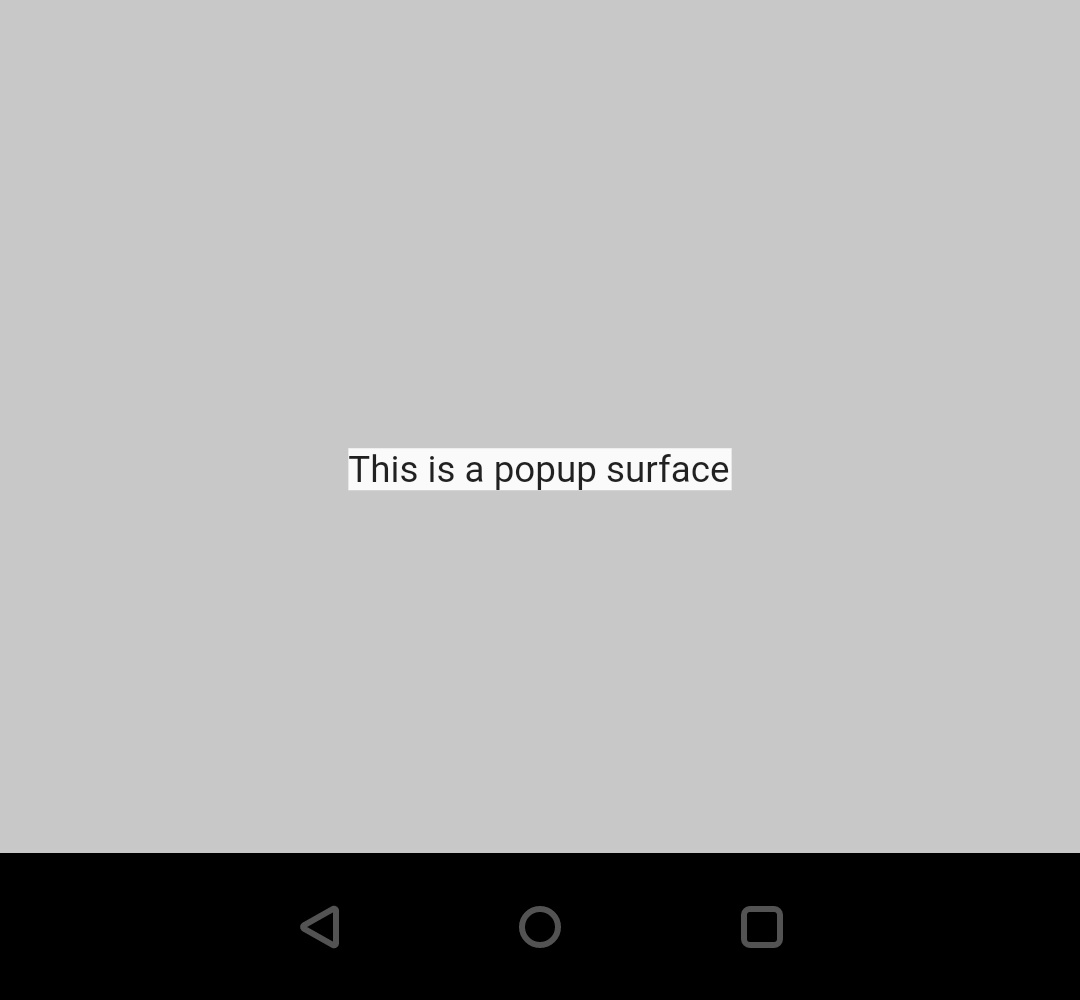
It takes a boolean as value. Setting this property to true will paint the surface which means there will be background color. If false the background will be transperent. We can see the output when this property is set to true in the above example. So lets set it to false in the below example.
return CupertinoPopupSurface(
            child: Container(
                alignment: Alignment.center,
                width: MediaQuery.of(context).size.width,
                height: MediaQuery.of(context).copyWith().size.height*0.35,
                child: Material(
                    child: Text("This is a popup surface")
                )
            ),
            isSurfacePainted: true,
        );
Output:
Flutter Cupertino Popup Surface Example
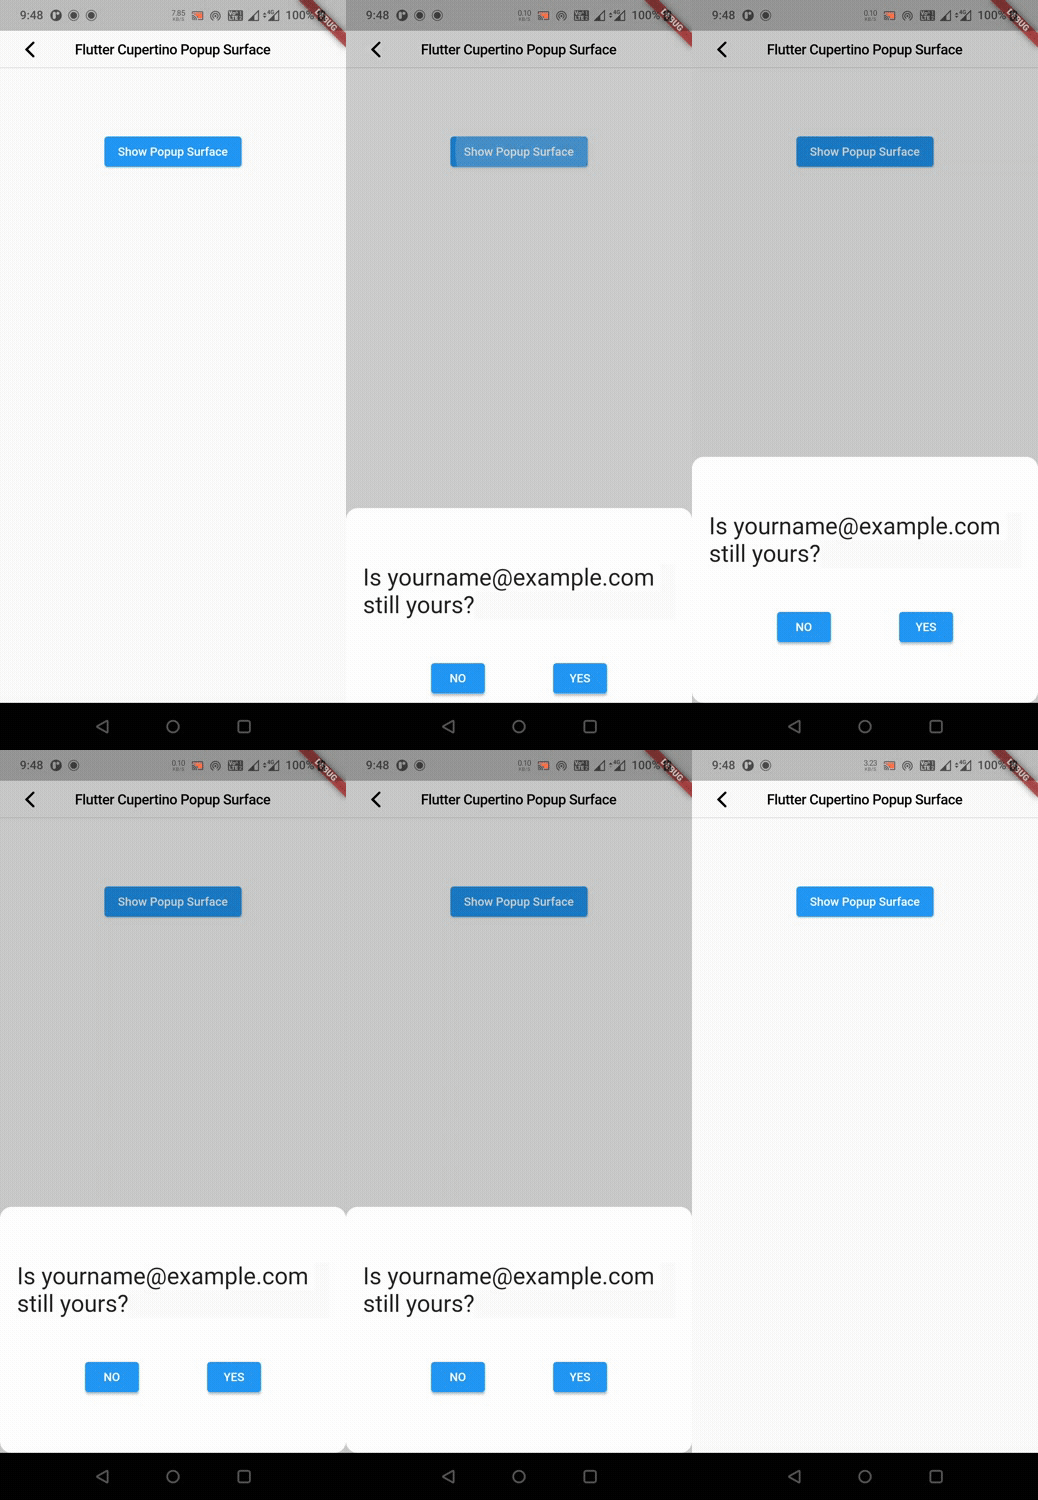
Lets create an example where we will implement a cupertino popup surface in flutter using CupertinoPopupSurface widget. In this example we will display a button which on click will display a cupertino popup surface with a message and two buttons.
First we will display the button that will trigger the popup surface.
child:Container(
        margin: EdgeInsets.all(40),
        width: double.infinity,
        height: MediaQuery.of(context).size.height*0.50,
        child: Column(
          mainAxisAlignment: MainAxisAlignment.spaceEvenly,
          children: [
            ElevatedButton(
              child: Text("Show Popup Surface"),
              onPressed: (){

              },
            ),
          ]
        )
      ),
Now we will create a function showPopup(). Inside this function we will call the showCupertinoModalPopup function and return a CupertinoPopupSurface widget to the builder property of the function. We will set the background color to white. And the content will be a message with two buttons YES and NO. When we press the buttons we will dismiss the popup surface.
void showPopup()
  {  showCupertinoModalPopup(
      context: context,
      builder: (BuildContext builder) {
        return CupertinoPopupSurface(
            child: Container(
                padding: EdgeInsetsDirectional.all(20),
                color: CupertinoColors.white,
                alignment: Alignment.center,
                width: MediaQuery.of(context).size.width,
                height: MediaQuery.of(context).copyWith().size.height*0.35,
                child: Column(
                  mainAxisAlignment: MainAxisAlignment.spaceEvenly,
                  children: [
                    Material(
                        child: Text("Is yourname@example.com still yours?",
                          style: TextStyle(
                            backgroundColor: CupertinoColors.white,
                            fontSize: 28,
                          ),
                        )
                    ),
                    Row(
                      mainAxisAlignment: MainAxisAlignment.spaceEvenly,
                      children:[
                        ElevatedButton(
                            onPressed: (){
                              Navigator.of(context).pop();
                            },
                            child: Text("NO")
                        ),
                        ElevatedButton(
                            onPressed: (){
                              Navigator.of(context).pop();
                            },
                            child: Text("YES")
                        ),
                      ]
                    ),
                  ],
                )
            ),
            isSurfacePainted: true,
        );
      }
    );
  }
Call the above function inside the onPressed callback of elevated button created at the beginning.
ElevatedButton(
              child: Text("Show Popup Surface"),
              onPressed: (){
                showPopup();
              },
            ),
Complete Code:
Lets sum up all the code snippets above to complete our cupertino popup surface example. Create a new flutter project and replace the code in main.dart file with the code below.
import 'dart:async';
import 'package:flutter/cupertino.dart';
import 'package:flutter/material.dart';
import 'package:flutter/widgets.dart';

void main()
{
  runApp(MyApp());
}

class MyApp extends StatelessWidget {
  @override
  Widget build(BuildContext context) {
    return MaterialApp(
      title: 'Flutter Learning',
      theme: ThemeData(
        primarySwatch: Colors.blue,
      ),
      home:MyHomePage(),
    );
  }
}

class MyHomePage extends StatefulWidget {
  @override
  _MyHomePageState createState()
  {
    return _MyHomePageState();
  }
}

class _MyHomePageState extends State<MyHomePage> {

  @override
  Widget build(BuildContext context) {
    return new CupertinoPageScaffold(
      navigationBar:CupertinoNavigationBar(
          leading: CupertinoNavigationBarBackButton(
            onPressed: ()
            {

            },
            color: CupertinoColors.label,
          ),
          middle: Text("Flutter Cupertino Popup Surface"),
        ),
      child:Container(
        margin: EdgeInsets.all(40),
        width: double.infinity,
        height: MediaQuery.of(context).size.height*0.50,
        //alignment: Alignment.topCenter,
        child: Column(
          mainAxisAlignment: MainAxisAlignment.spaceEvenly,
          children: [
            ElevatedButton(
              child: Text("Show Popup Surface"),
              onPressed: (){
                showPopup();
              },
            ),
          ]
        )
      ),
    );
  }

  void showPopup()
  {  showCupertinoModalPopup(
      context: context,
      builder: (BuildContext builder) {
        return CupertinoPopupSurface(
            child: Container(
                padding: EdgeInsetsDirectional.all(20),
                color: CupertinoColors.white,
                alignment: Alignment.center,
                width: MediaQuery.of(context).size.width,
                height: MediaQuery.of(context).copyWith().size.height*0.35,
                child: Column(
                  mainAxisAlignment: MainAxisAlignment.spaceEvenly,
                  children: [
                    Material(
                        child: Text("Is yourname@example.com still yours?",
                          style: TextStyle(
                            backgroundColor: CupertinoColors.white,
                            fontSize: 28,
                          ),
                        )
                    ),
                    Row(
                      mainAxisAlignment: MainAxisAlignment.spaceEvenly,
                      children:[
                        ElevatedButton(
                            onPressed: (){
                              Navigator.of(context).pop();
                            },
                            child: Text("NO")
                        ),
                        ElevatedButton(
                            onPressed: (){
                              Navigator.of(context).pop();
                            },
                            child: Text("YES")
                        ),
                      ]
                    ),
                  ],
                )
            ),
            isSurfacePainted: true,
        );
      }
    );
  }
}
Output:
That brings an end to the tutorial on how to create & use cupertino popup surface in flutter. We have also seen an example where we have used the CupertinoPopupSurface widget to display the popup surface. Let’s catch up with some other widget in the next post. Have a great day !!
Do like & share my Facebook page. Subscribe to the newsletter if you find this post helpful. Thank you !!
Reference: Flutter Official Documentation.



Leave a Reply