Flutter Cupertino TextField
Cupertino textfield in flutter is an ios style textfield. CupertinoTextField widget lets us create a textfield in ios style. It is a widget used to accept input from the user. Textfields are very important while designing applications. For example, we need to use them to create login and registration screens. Using textfields we can accept and validate the user input to proceed further in the application. We can also decide what type of text should be entered into the textfield.
Don’t know what Cupertino is? It is nothing but a set of flutter widgets that follow the ios design pattern. These widgets are designed to implement ios features in flutter apps built for the ios platform.
In this tutorial, we will learn how to use cupertino textfield in flutter with example. We will also learn how to customize the CupertinoTextField widget using different properties.
If you want to create a textfield for android platform using flutter refer textfield in flutter.
How To Create Cupertino TextField In Flutter?
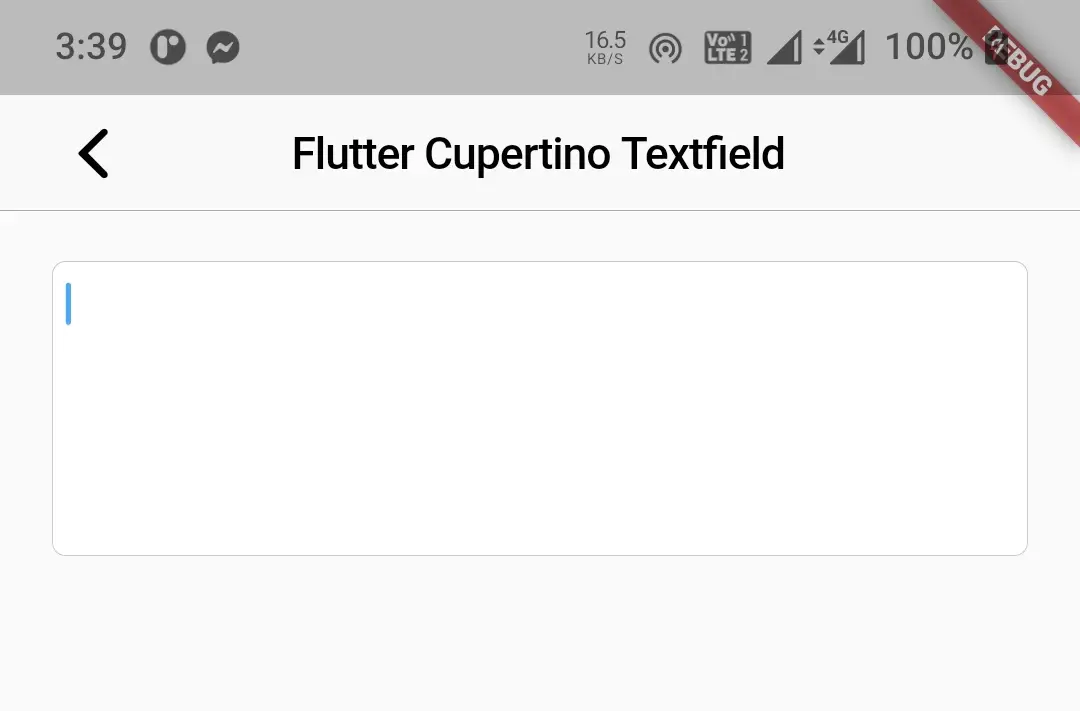
To create a cupertino textfield in flutter we have to call the constructor of the CupertinoTextField class and provide the required properties. The constructor has no required properties so we can create one by simply calling the constructor. There are a lot of properties for CupertinoTextField widget which help in customizing the textfield. Some properties also help us in controlling behavior.
Flutter Cupertino TextField Constructor:
CupertinoTextField(
{Key key,
 TextEditingController controller,
 FocusNode focusNode,
 BoxDecoration decoration: _kDefaultRoundedBorderDecoration,
 EdgeInsetsGeometry padding: const EdgeInsets.all(6.0),
 String placeholder,
 Widget prefix,
 OverlayVisibilityMode prefixMode: OverlayVisibilityMode.always,
 Widget suffix,
 OverlayVisibilityMode suffixMode: OverlayVisibilityMode.always,
 OverlayVisibilityMode clearButtonMode: OverlayVisibilityMode.never,
 TextInputType keyboardType,
 TextInputAction textInputAction,
 TextCapitalization textCapitalization: TextCapitalization.none,
 TextStyle style,
 TextAlign textAlign: TextAlign.start,
 bool autofocus: false,
 bool obscureText: false,
 bool autocorrect: true,
 int maxLines: 1,
 int maxLength,
 bool maxLengthEnforced: true,
 ValueChanged<String> onChanged,
 VoidCallback onEditingComplete,
 ValueChanged<String> onSubmitted,
 List<TextInputFormatter> inputFormatters,
 bool enabled,
 double cursorWidth: 2.0,
 Radius cursorRadius: const Radius.circular(2.0),
 Color cursorColor,
 Brightness keyboardAppearance,
 EdgeInsets scrollPadding: const EdgeInsets.all(20.0)
 }
)
Flutter Cupertino TextField Properties
The properties of a flutter cupertino textfield are:
- controller
- decoration
- padding
- placholder
- prefix
- prefixMode
- suffix
- suffixMode
- clearButtonMode
- keyboardType
- textInputAction
- textCapitalization
- style
- textAlign
- autofocus
- obscureText
- autocorrect
- maxLines
- maxLength
- maxLengthEnforced
- onChanged
- onEditingComplete
- onSubmitted
- inputFormatters
- enabled
- cursorWidth
- cursorRadius
- cursorColor
- keyboardAppearance
- scrollPadding
That’s a long list right? We are not going to discuss them all as it will make the article long and will confuse some. We will discuss only a few properties.
controller
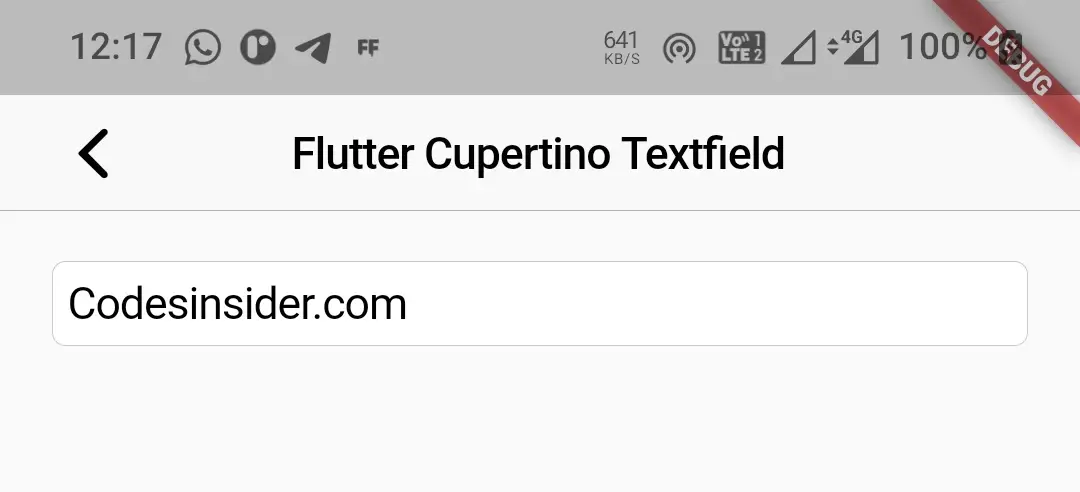
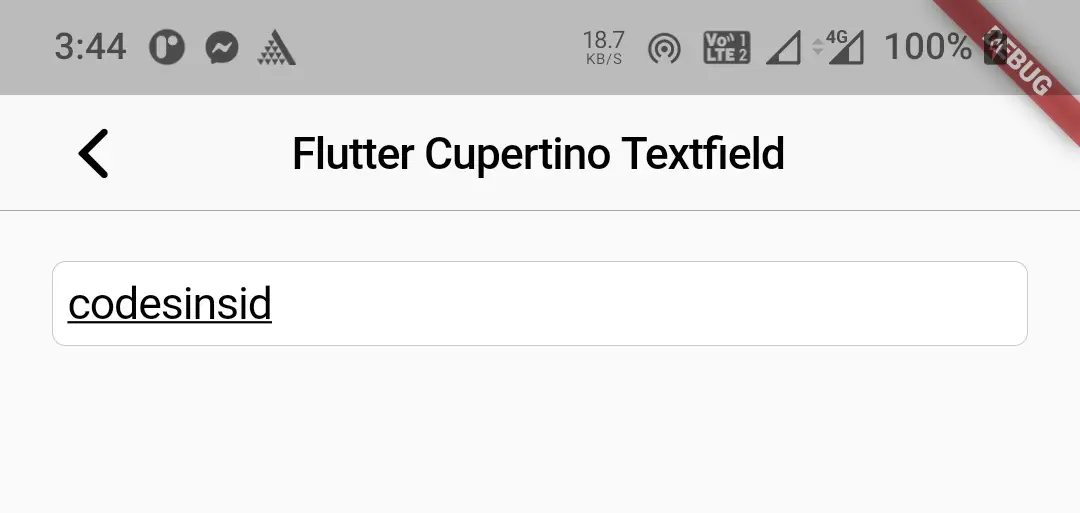
We will use this property to manipulate the text that is being edited by the user. For example, to display a textfield with some text initially we have to use the controller.
First, let’s declare the controller with some text initially.
TextEditingController controller = new TextEditingController(text:"Codesinsider.com");
Now set this controller to controller property of textfield.
CupertinoTextField(
          controller:controller,
        )
Output:
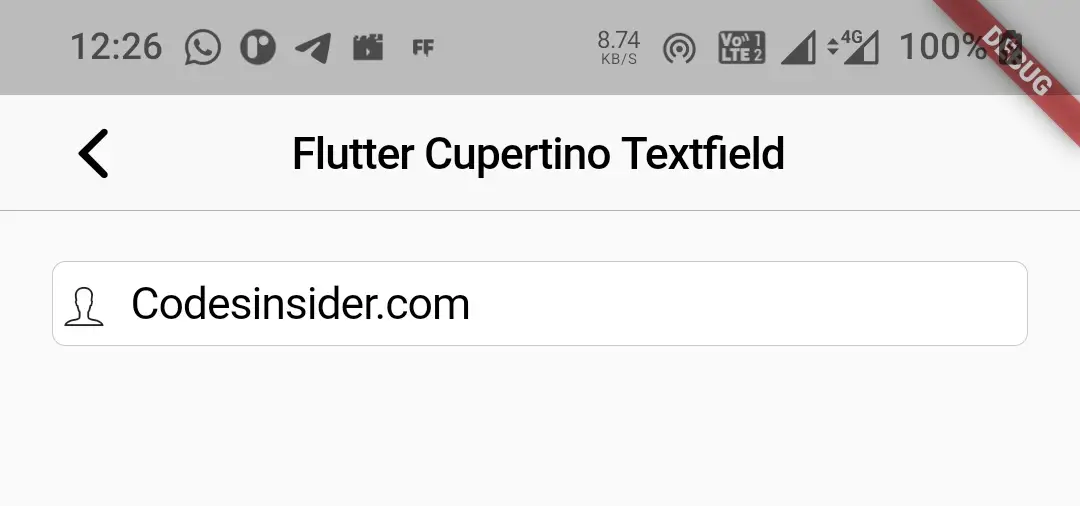
prefix
We will use this property to display a prefix widget. It takes widget as value. Let’s display an icon as a prefix.
CupertinoTextField(
          controller:controller,
          prefix: Icon(CupertinoIcons.person),
        )
Output:
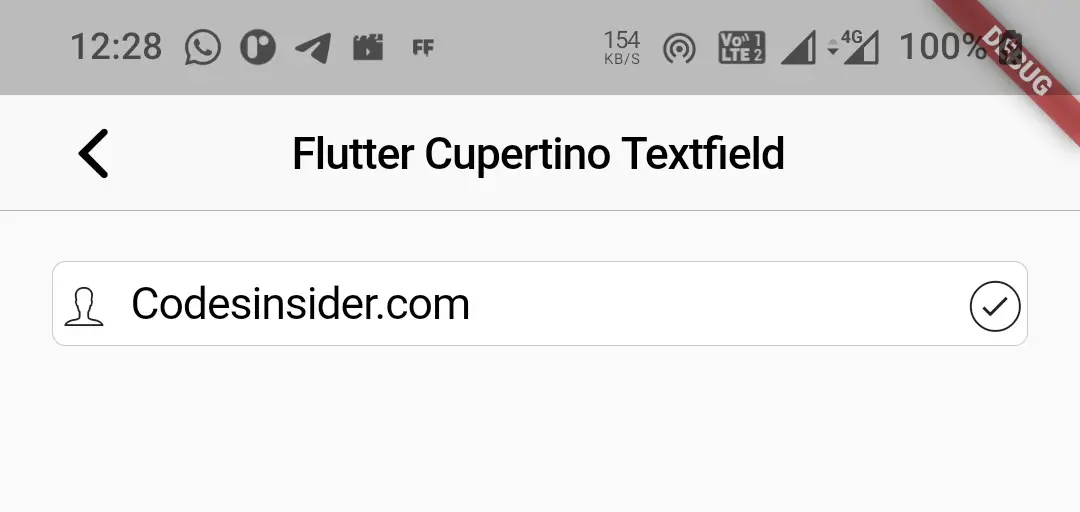
suffix
we will use this property to display a suffix. It also takes a widget as value.
CupertinoTextField(
          controller:controller,
          prefix: Icon(CupertinoIcons.person),
          suffix: Icon(CupertinoIcons.check_mark_circled)
        )
Output:
keyboardType
We will use this property to change the type of keyboard we are going to display. It takes TextInputType constant as value. It has many constants like text, number, name, phone, url, emailAddress, multiline, datetime, streetAddress, visiblePassword, numberwithOptions. I will discuss a few try the rest for yourself.
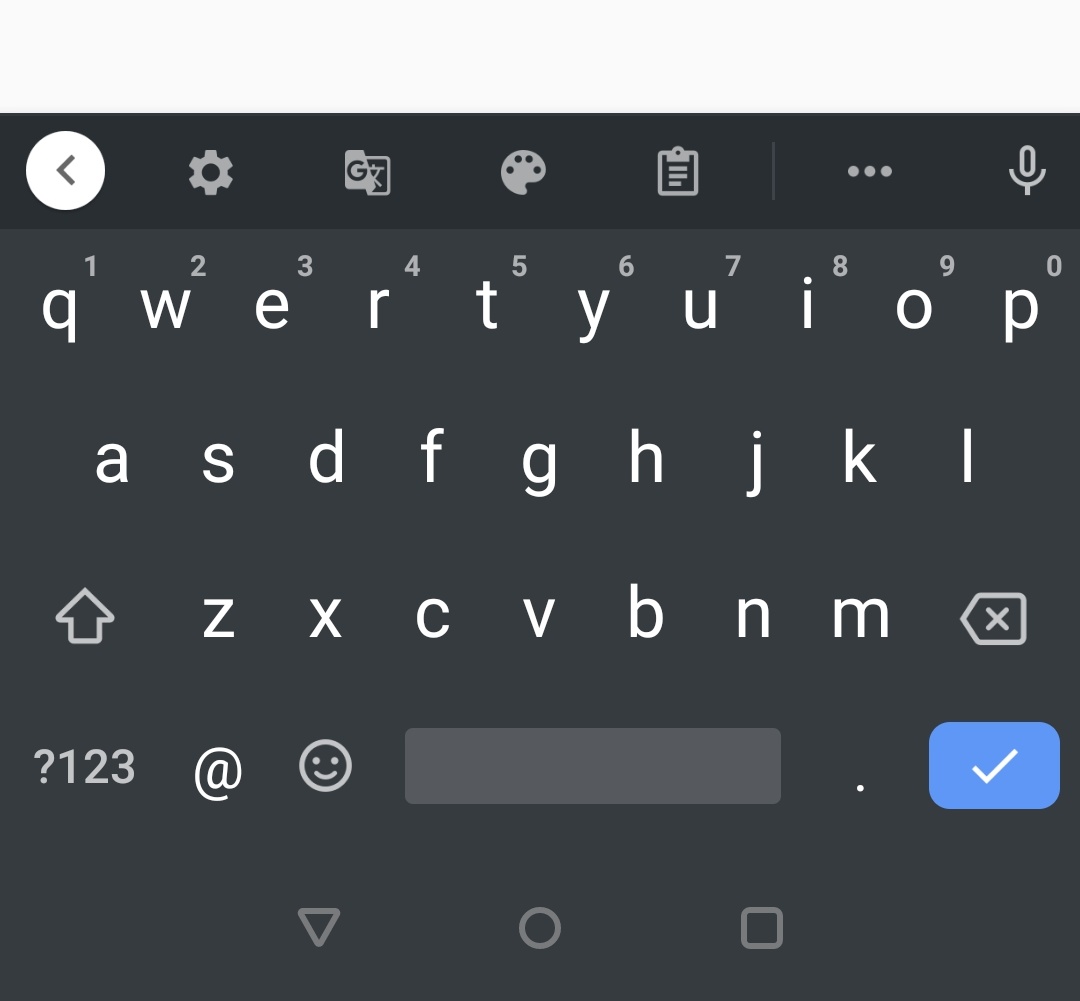
emailAddress
Displays a general keybord with all the characters and @ symbol.
CupertinoTextField(
          prefix: Icon(CupertinoIcons.person),
          suffix: Icon(CupertinoIcons.check_mark_circled),
          keyboardType: TextInputType.emailAddress,
        )
Output:
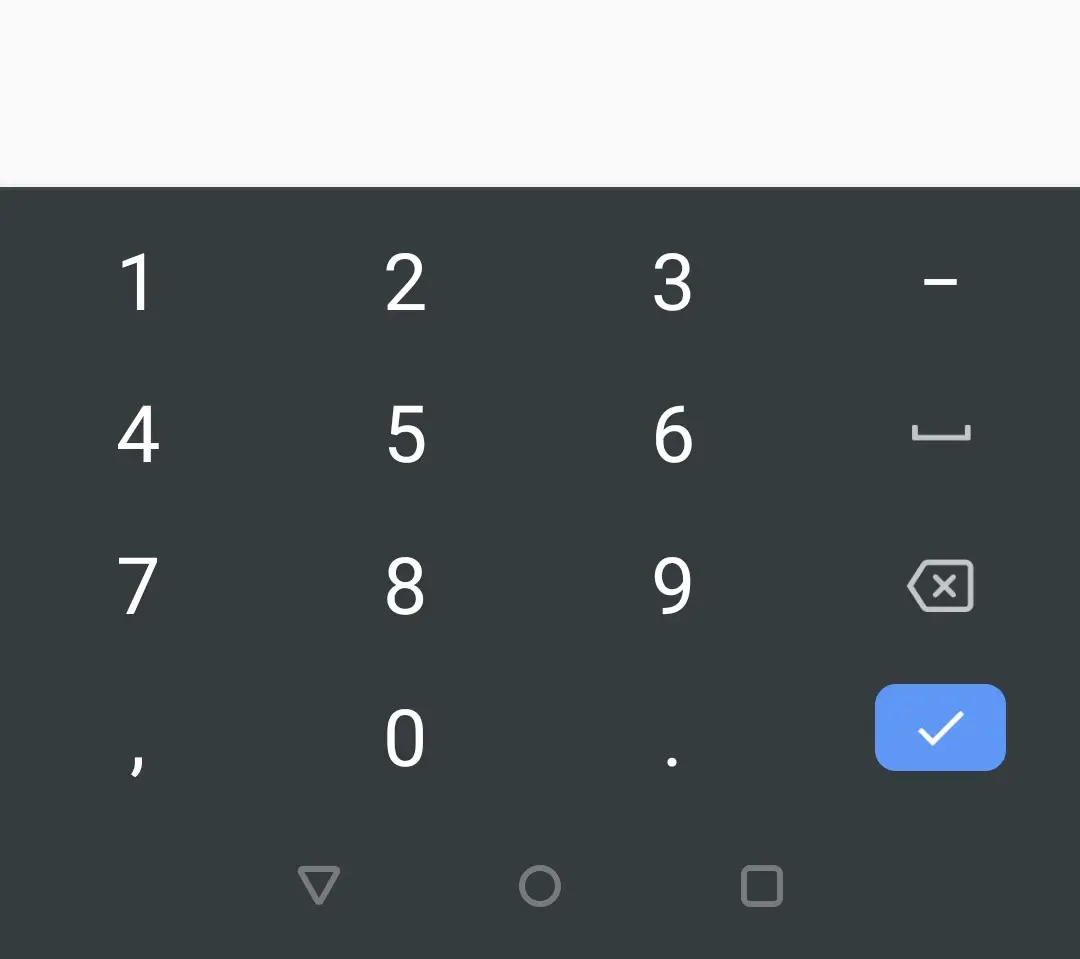
number
Displays a number keypad without any other keys.
CupertinoTextField(
          prefix: Icon(CupertinoIcons.person),
          suffix: Icon(CupertinoIcons.check_mark_circled),
          keyboardType: TextInputType.number,
        )
Output:
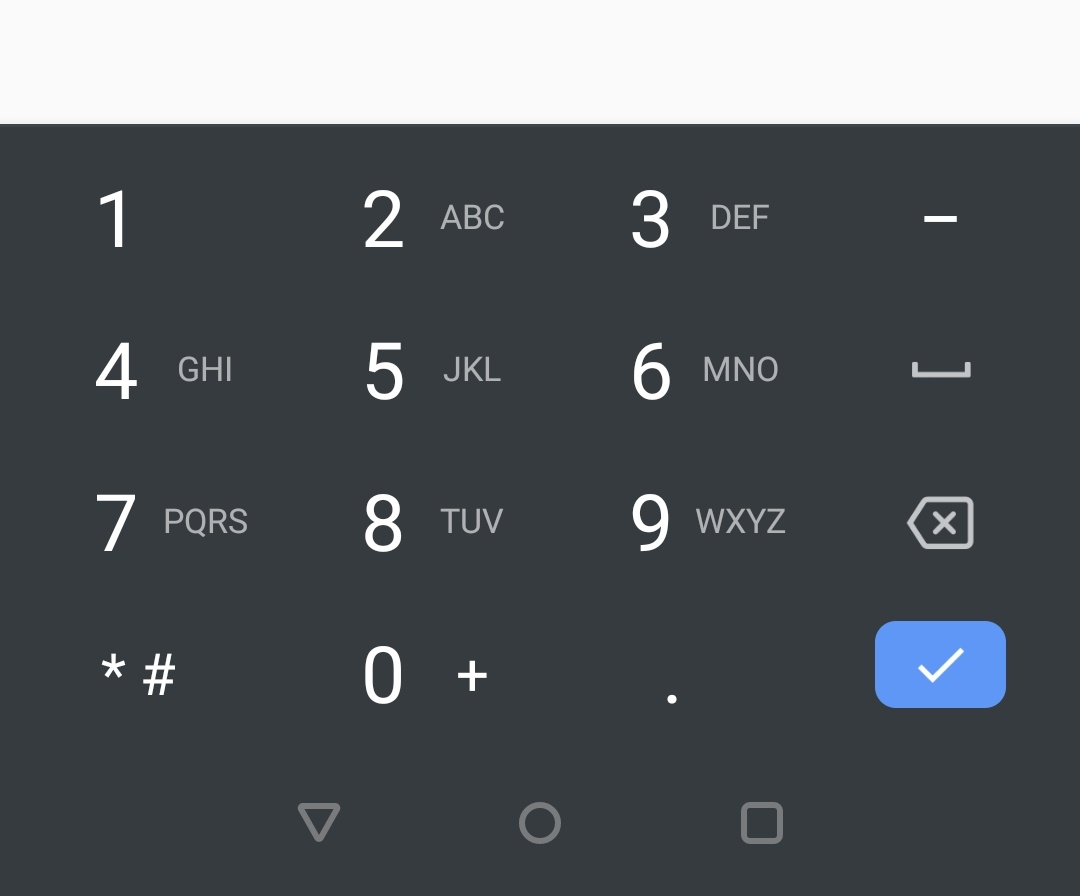
phone
Shows a number keypad with symbols.
CupertinoTextField(
          prefix: Icon(CupertinoIcons.person),
          suffix: Icon(CupertinoIcons.check_mark_circled),
          keyboardType: TextInputType.phone,
        )
Output:
datetime
This will display a keyboard with numbers and characters like ‘/’ and ‘:’ which we will use while entering date and time.
CupertinoTextField(
          prefix: Icon(CupertinoIcons.person),
          suffix: Icon(CupertinoIcons.check_mark_circled),
          keyboardType: TextInputType.datetime,
        )
Output:

textCapitalization
To display the characters, words, or sentences in capital letters use this property. It takes TextCapitalization constant as value. It has three constants characters, words, sentences.
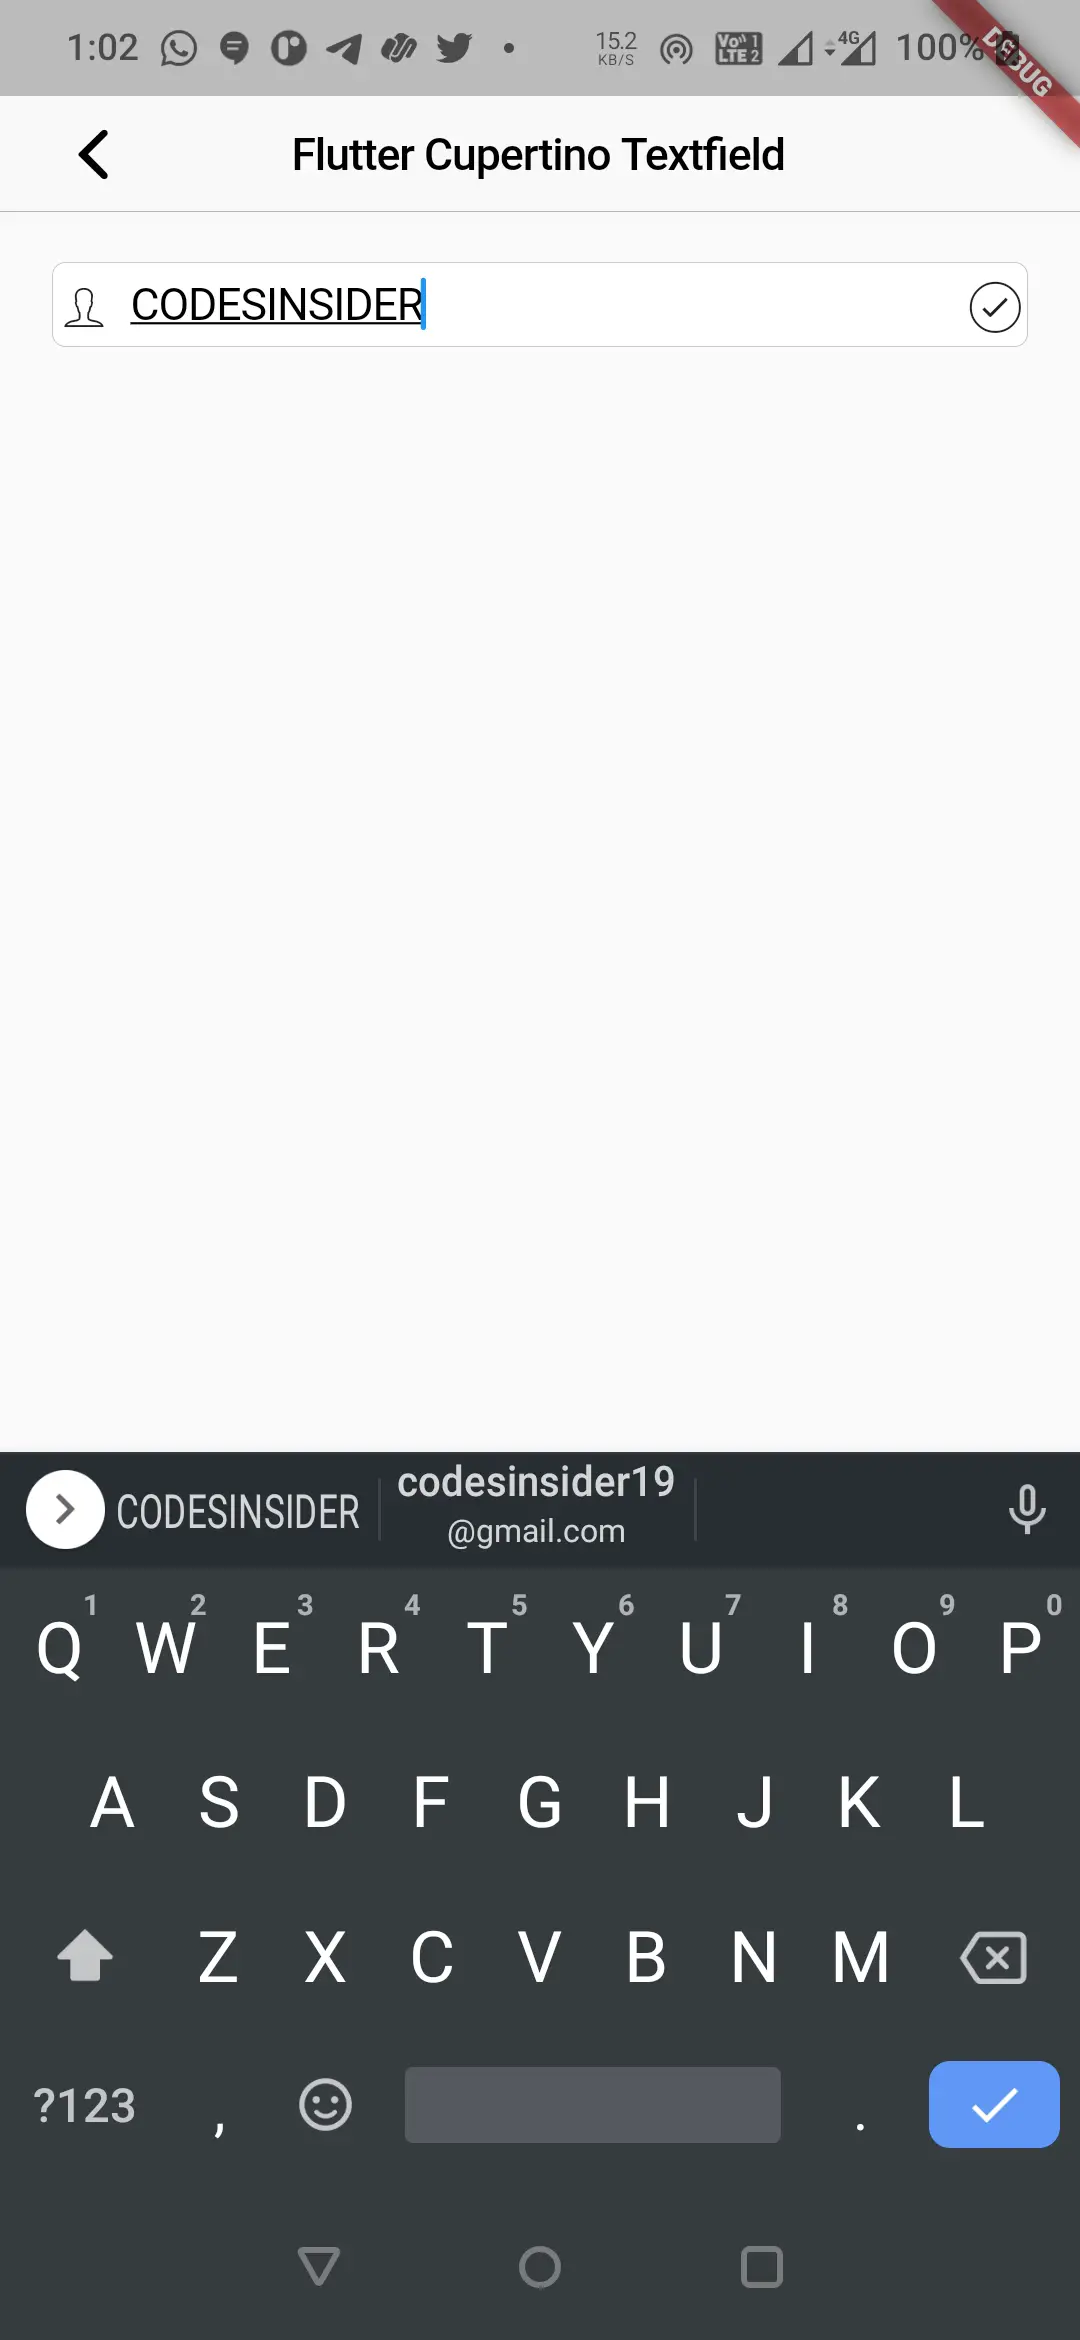
characters:
This will make the keyboard allow all the characters capital.
CupertinoTextField(
          prefix: Icon(CupertinoIcons.person),
          suffix: Icon(CupertinoIcons.check_mark_circled),
          keyboardType: TextInputType.text,
          textCapitalization: TextCapitalization.characters,
        )
Output:
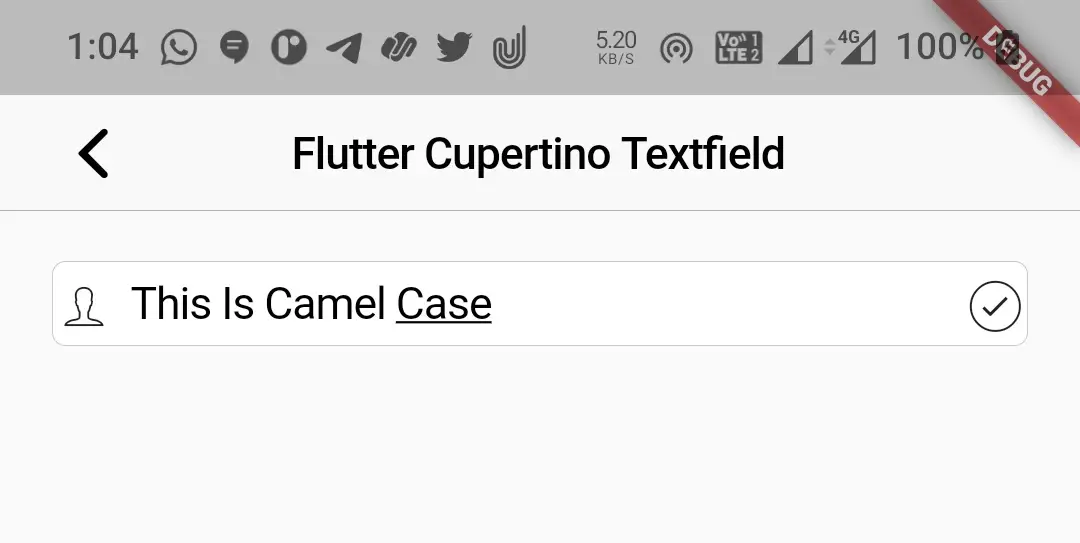
words:
This constant will make the keyboard allow only the first letter of every word capital (camel case).
CupertinoTextField(
          prefix: Icon(CupertinoIcons.person),
          suffix: Icon(CupertinoIcons.check_mark_circled),
          keyboardType: TextInputType.text,
          textCapitalization: TextCapitalization.words,
        )
Output:
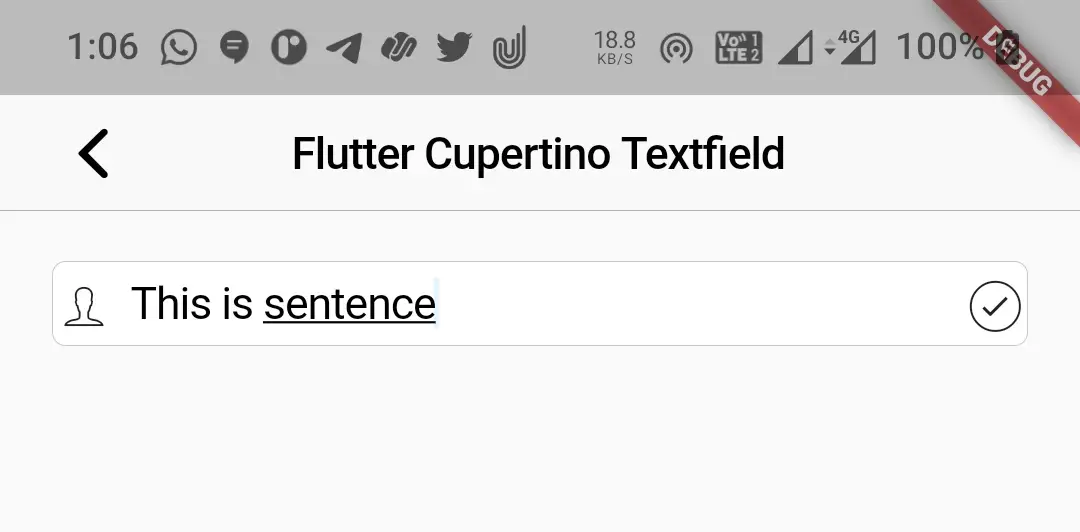
sentences:
This constant will make the keyboard allow only the first letter of a sentence capital.
CupertinoTextField(
          //controller:controller,
          prefix: Icon(CupertinoIcons.person),
          suffix: Icon(CupertinoIcons.check_mark_circled),
          keyboardType: TextInputType.text,
          textCapitalization: TextCapitalization.sentences
        )
Output:
textAlign
We will use this property to align the text at different positions like start, center, left, etc. It takes TextAlign constant as value. It has constants like start, center, end, right, left, and justify. By default, it is TextAlign.start.
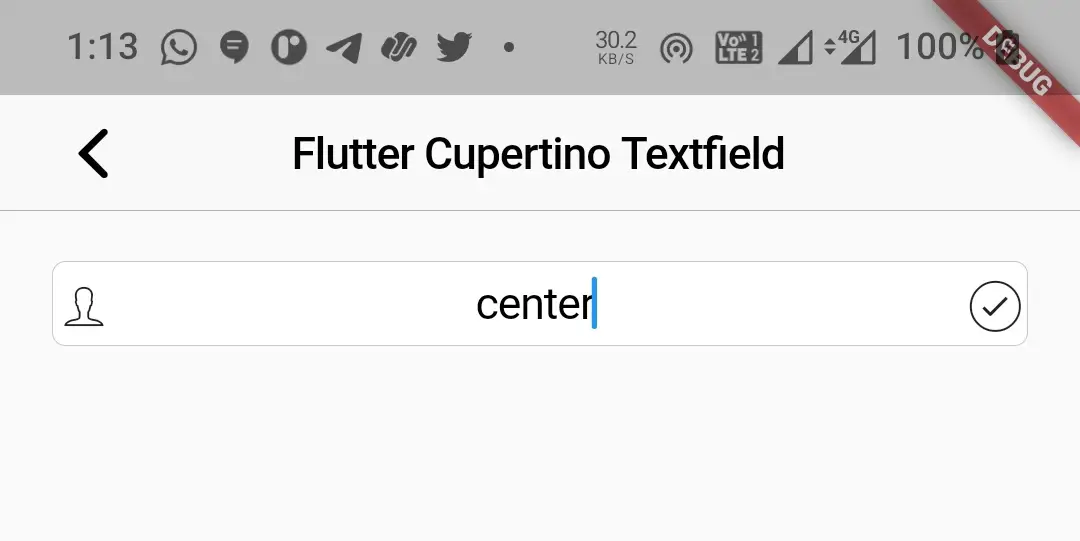
center
It will align the text to the center of textfield.
CupertinoTextField(
          prefix: Icon(CupertinoIcons.person),
          suffix: Icon(CupertinoIcons.check_mark_circled),
          keyboardType: TextInputType.text,
          textAlign: TextAlign.center,
        )
Output:
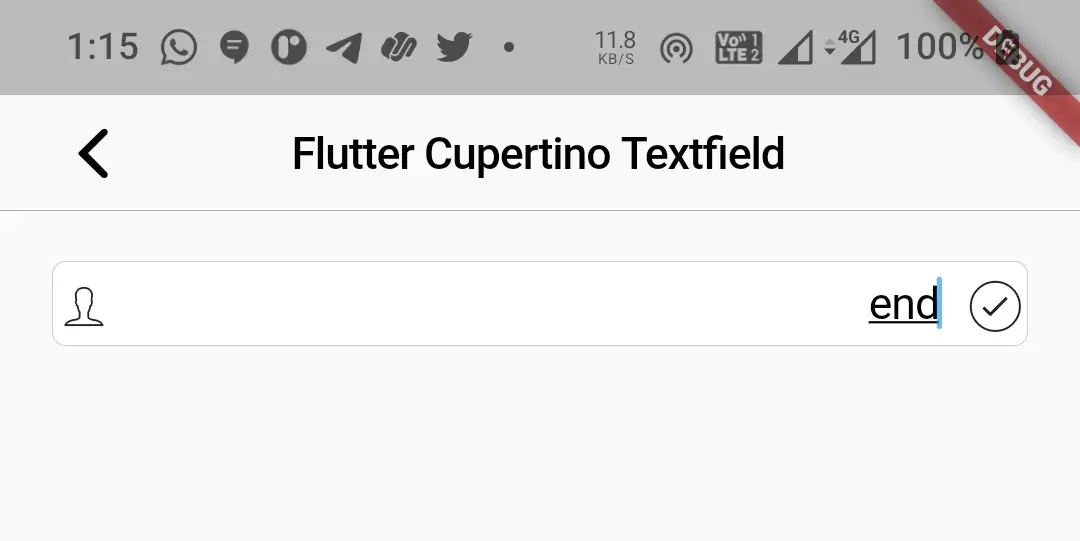
end
It will align the text to the end.
CupertinoTextField(
          prefix: Icon(CupertinoIcons.person),
          suffix: Icon(CupertinoIcons.check_mark_circled),
          keyboardType: TextInputType.text,
          textAlign: TextAlign.end,
        )
Output:
obscureText
It takes boolean as value. We will use this property to replace the text that is being typed with a special character. Generally, we will use this with textfields for passwords.
CupertinoTextField(
          prefix: Icon(CupertinoIcons.person),
          suffix: Icon(CupertinoIcons.check_mark_circled),
          keyboardType: TextInputType.text,
          obscureText: true,
        )
Output:

minLines & maxLines
We will use these properties to define the minimum & maximum lines for the text field. Generally, we will use it while taking address or feedback as input from the user. The text field will extend to display minimum lines initially. It will extend up to max lines when the text goes beyond the minimum lines.
CupertinoTextField(
          prefix: Icon(CupertinoIcons.person),
          suffix: Icon(CupertinoIcons.check_mark_circled),
          keyboardType: TextInputType.text,
          minLines: 5
          maxLines: 6
        )
Output:
maxLength
The maximum number of characters allowed includes white space. It takes double as value.
CupertinoTextField(
          keyboardType: TextInputType.text,
          maxLength: 10,
        )
Output:
onChanged
This property accepts a callback function that will invoke every time the text is changed. We can get the changed value inside the function. Generally, it is useful in situations like validating the user input.
CupertinoTextField(
          keyboardType: TextInputType.text,
          maxLength: 10,
          onChanged: (value){
            //Do whatever you want when the text is changed here
          },
        )
onSubmitted
This property accepts a callback function that will invoke when the user is done editing or typing. We can get the final value inside the function.
CupertinoTextField(
          keyboardType: TextInputType.text,
          maxLength: 10,
          onSubmitted: (value){
            //do whatever you want when the user submits the text
          },
        )
textInputAction
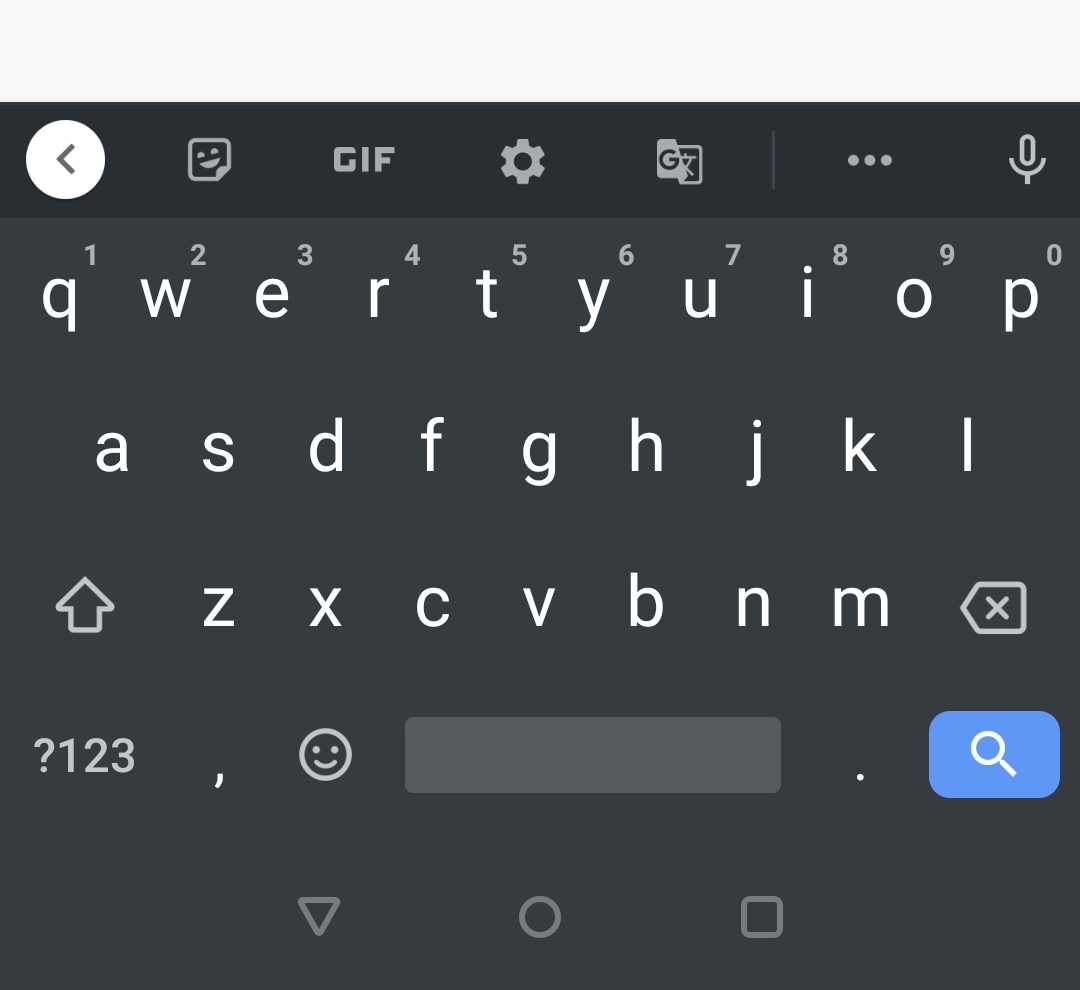
To display the type of input action on the keyboard we will use this property. It accepts TextInputAction constant as value. It has many constants like search, continueAction, done, emergencyCall, go, join, newline, next, previous, route, send, unspecified.
search
Displays a search action on the keyboard.
CupertinoTextField(
          keyboardType: TextInputType.text,
          maxLength: 10,
          onSubmitted: (value){
          },
          textInputAction:TextInputAction.search ,
        )
Output:
send
It will display a send button on the keyboard as an action.
CupertinoTextField(
          keyboardType: TextInputType.text,
          maxLength: 10,
          onSubmitted: (value){
          },
          textInputAction:TextInputAction.send ,
        )
Output:

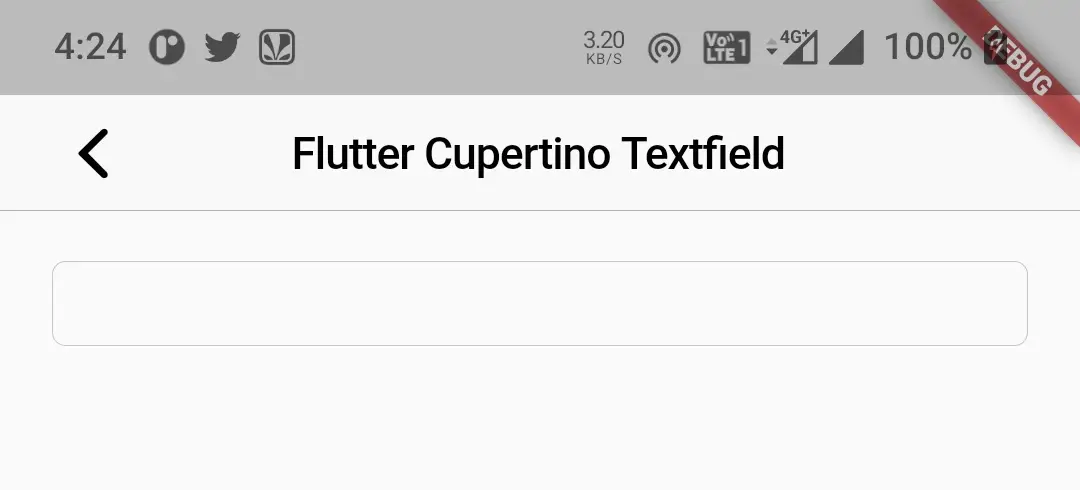
enabled
It takes boolean as value. Setting this property to false will disable the textfield which is true by default.
CupertinoTextField(
          keyboardType: TextInputType.text,
          maxLength: 10,
          onSubmitted: (value){
          },
          enabled:false,
        )
Output:
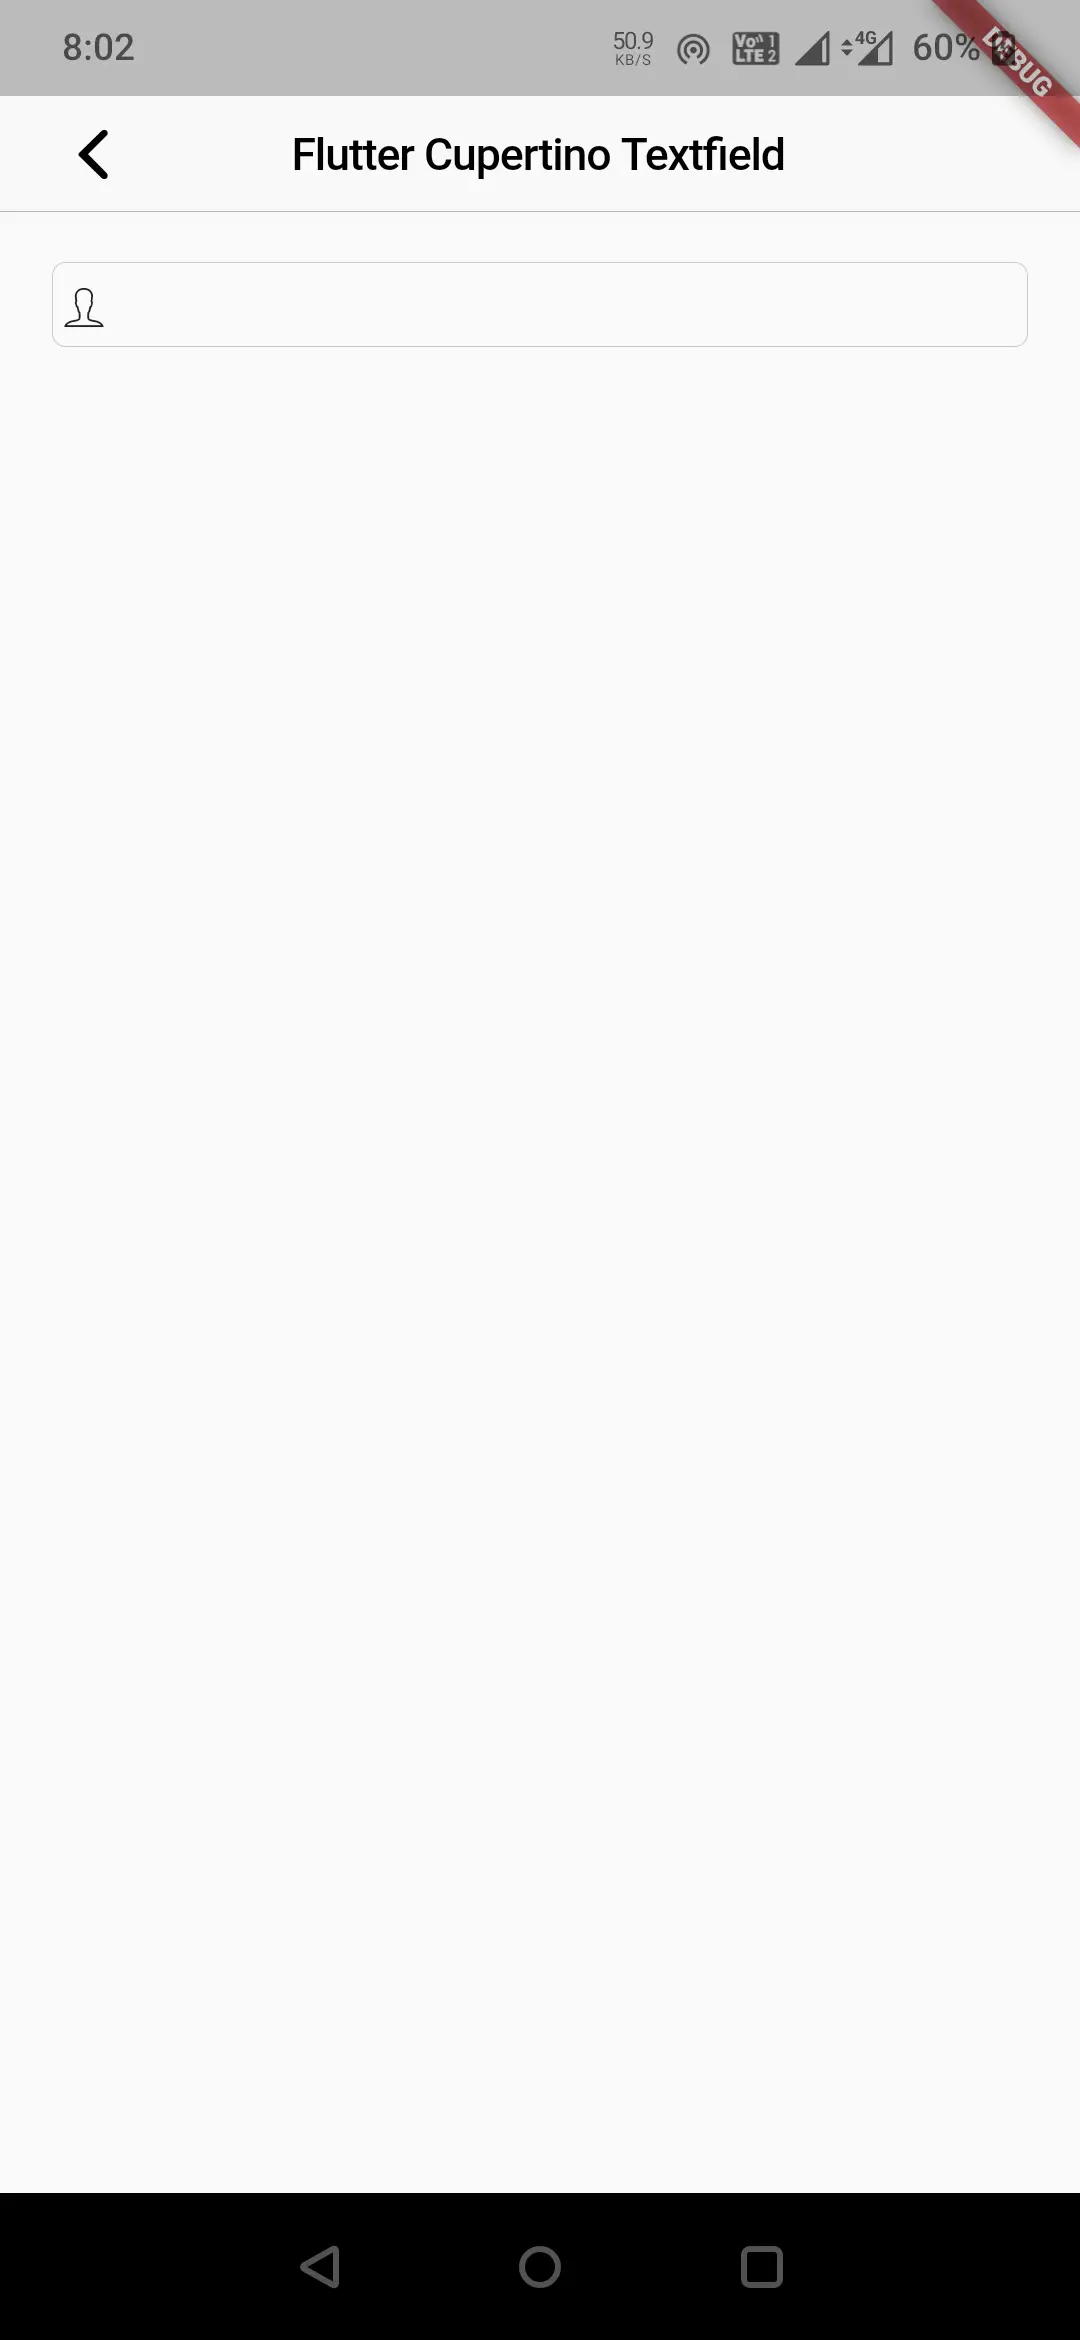
Flutter Cupertino TextField Example
Let’s create an example where we will implement cupertino textfield in futter using CupertinoTextField widget. In this example, we will display a cupertino textfield with a prefix. Create a new flutter project and replace the code in main.dart file with the code below.
Complete Code:
import 'package:flutter/cupertino.dart';
import 'package:flutter/material.dart';
import 'package:flutter/widgets.dart';

void main()
{
  runApp(MyApp());
}

class MyApp extends StatelessWidget {
  @override
  Widget build(BuildContext context) {
    return MaterialApp(
      title: 'Flutter Learning',
      theme: ThemeData(
        primarySwatch: Colors.blue,
      ),
      home:MyHomePage(),
    );
  }
}

class MyHomePage extends StatefulWidget {
  @override
  _MyHomePageState createState()
  {
    return _MyHomePageState();
  }
}

class _MyHomePageState extends State<MyHomePage> {
  TextEditingController controller = new  TextEditingController(text:"Codesinsider.com");

  @override
  Widget build(BuildContext context) {
    return new CupertinoPageScaffold(
      navigationBar:CupertinoNavigationBar(
        leading: CupertinoNavigationBarBackButton(
          onPressed: ()
          { },
          color: CupertinoColors.label,
        ),
        middle: Text("Flutter Cupertino Textfield")
      ),
      child:Container(
        margin: EdgeInsets.only(top:100, left: 20, right: 20),
        child:CupertinoTextField(
          keyboardType: TextInputType.text,
          maxLength: 10,
          prefix:Icon(CupertinoIcons.person),
          onSubmitted: (value){
          },
          enabled:false,
        )
      ),
    );
  }
}
Output:
I hope you understand the tutorial on how to create & use Cupertino search textfield in flutter. We have also seen an example where we have used the CupertinoSearchTextField widget to display the cupertino search textfield. Let’s catch up with some other widget in the next post. Have a great day !!
Do like & share my Facebook page. Subscribe to the newsletter if you find this post helpful. Thank you !!
Reference: Flutter Official Documentation.


Leave a Reply