
In this tutorial you will learn how to use drawer widget to display navigation drawer in flutter. We will also see an example where we customize it’s style with different properties.
Drawer widget lets us display a navigation drawer in flutter that slides in horizontally from the edge of a screen. The navigation drawer shows all the navigation links in an application. By default, it will be in the hidden state and when displayed it occupies almost 50% of the screen. It is used to display all the important pages in the application and navigate to them quickly.
The appbar automatically displays a menu icon (hamburger) when we add a drawer to scaffold. Tapping this icon will display the drawer. We can also display the drawer by sliding from the edge of the screen.
Use the drawer widget only if you have more navigation links. If the navigation links are less consider using the bottom navigation bar instead.
We can create a navigation drawer in flutter by calling the constructor of the drawer class and providing the required arguments. There are no required properties so we can display a navigation drawer by just calling the constructor. Usually, a listview is used as a child to navigation drawer. The first child will be the DrawerHeader widget that displays user info. The remaining widgets will be ListTiles. We can also use any other widget as a child instead of a listview.
Navigation Drawer Constructor :
Drawer(
  {Key? key,
  double elevation,
  Widget? child,
  String? semanticLabel}
)
Basic implementation of navigation drawer
Drawer(
        child:ListView(
        ) ,
   ),
To display a navigation drawer we have to provide Drawer widget to scaffold’s drawer property.
Scaffold(
      appBar: AppBar(
        title: Text("Flutter Learning"),
      ),
      body:Center(
        child: Container()
      ),
      drawer: Drawer(),
    );
Let’s create an example where we display a navigation drawer with a DraweHeader and three navigation links. The links home, profile and contact are created using ListTile widget. Let’s design the drawer part first. I am creating the drawer in a separate file so that we can reuse it in other pages.
NavDrawer.dart
The drawer header will have an icon and a text widget which represents the user avatar and username respectively. Followed by are three listTiles for home, profile and contact links with dividers. Create a new dart file and name it NavDrawer.dart and copy paste the below code into that file.
import 'package:flutter/material.dart';
import 'package:flutter_app_learning/profile.dart';
import 'package:flutter_app_learning/routes.dart';

class NavDrawer extends StatelessWidget {
  @override
  Widget build(BuildContext context) {
    return Drawer(
      child:ListView(
        children: [
          DrawerHeader(
            decoration: BoxDecoration(
              color: Colors.green,
            ),
            child: Center(
              child: Row(
                children: [
                  Expanded(
                    child: Icon(Icons.account_circle, color: Colors.white,size: 40,),
                    flex: 2,
                  ),
                  Expanded(
                    flex: 6,
                    child: Text(
                      "Codes Insider",
                      style: TextStyle(
                        color: Colors.white,
                        fontSize: 16,
                      ),
                    ),
                  ),
                ],
              ),
            ),
          ),
          ListTile(
            title: Text("Home"),
            leading: IconButton(
              icon: Icon(Icons.home),
              onPressed: () {
                Navigator.of(context).pop();
              },
            ),
            onTap: ()
            {
              Navigator.of(context).pop();
              Navigator.of(context).push(MaterialPageRoute(
                  builder: (BuildContext context) => MyHomePage()));
            },
          ),
          Divider(
            color: Colors.grey,
          ),
          ListTile(
            title: Text("Profile"),
            leading: IconButton(
              icon: Icon(Icons.account_circle),
              onPressed: () {
              },
            ),
            onTap: ()
            {
              Navigator.of(context).pop();
              Navigator.of(context).push(MaterialPageRoute(
                  builder: (BuildContext context) => profile()));
            },
          ),
          Divider(
            color: Colors.grey,
          ),
          ListTile(
            title: Text("Contact"),
            leading: IconButton(
              icon: Icon(Icons.contact_page),
              onPressed: () {
              },
            ),
            onTap: ()
             {
              Navigator.of(context).pop();
              Navigator.of(context).push(MaterialPageRoute(
                    builder: (BuildContext context) => contact()));
              },
          )
        ],
      ) ,
    );
  }
}
If you want to navigate to another route first we have to dismiss the drawer by using below line of code
Navigator.of(context).pop();
Now we have to navigate to another route using MaterialPageRoute like below
Navigator.of(context).push(MaterialPageRoute(
                  builder: (BuildContext context) => NewPageName()));
We will be placing the above two lines inside onTap callback of every ListTile to navigate to their respective pages.
ListTile(
            title: Text("Contact"),
            leading: IconButton(
              icon: Icon(Icons.contact_page),
              onPressed: () {
              },
            ),
            onTap: ()
             {
              Navigator.of(context).pop();
              Navigator.of(context).push(MaterialPageRoute(
                    builder: (BuildContext context) => contact()));
              },
          )
Now that the drawer is ready, lets add the NavDrawer() as value to the scaffold’s drawer property. It will return the Drawer widget we’ve designed inside NavDrawer.dart file.
Scaffold(
        appBar: AppBar(
          title: Text("Flutter Learning"),
        ),
        body: Center(
            child: Container()
        ),
        drawer: NavDrawer()
    );
Complete Code :
import 'package:flutter/material.dart';
import 'package:flutter/widgets.dart';
import 'package:flutter_app_learning/NavDrawer.dart';
void main()
{
  runApp(MyApp());
}

class MyApp extends StatelessWidget {
  @override
  Widget build(BuildContext context) {
    return MaterialApp(
      title: 'Flutter Learning',
      theme: ThemeData(
        primarySwatch: Colors.green,
      ),
      home: MyHomePage(),
    );
  }
}

class MyHomePage extends StatefulWidget {
  @override
  _MyHomePageState createState()
  {
    return _MyHomePageState();
  }
}

class _MyHomePageState extends State<MyHomePage> {
  @override
  Widget build(BuildContext context) {
    return Scaffold(
        appBar: AppBar(
          title: Text("Flutter Learning"),
        ),
        body: Center(
            child: Center(child: Text("This is Home page"))
        ),
        drawer: NavDrawer()
    );
  }
}
Output :

Since our navigation drawer is ready, Its time to create pages for contact and profile so that we can navigate when the user clicks on the links in the navigation drawer.
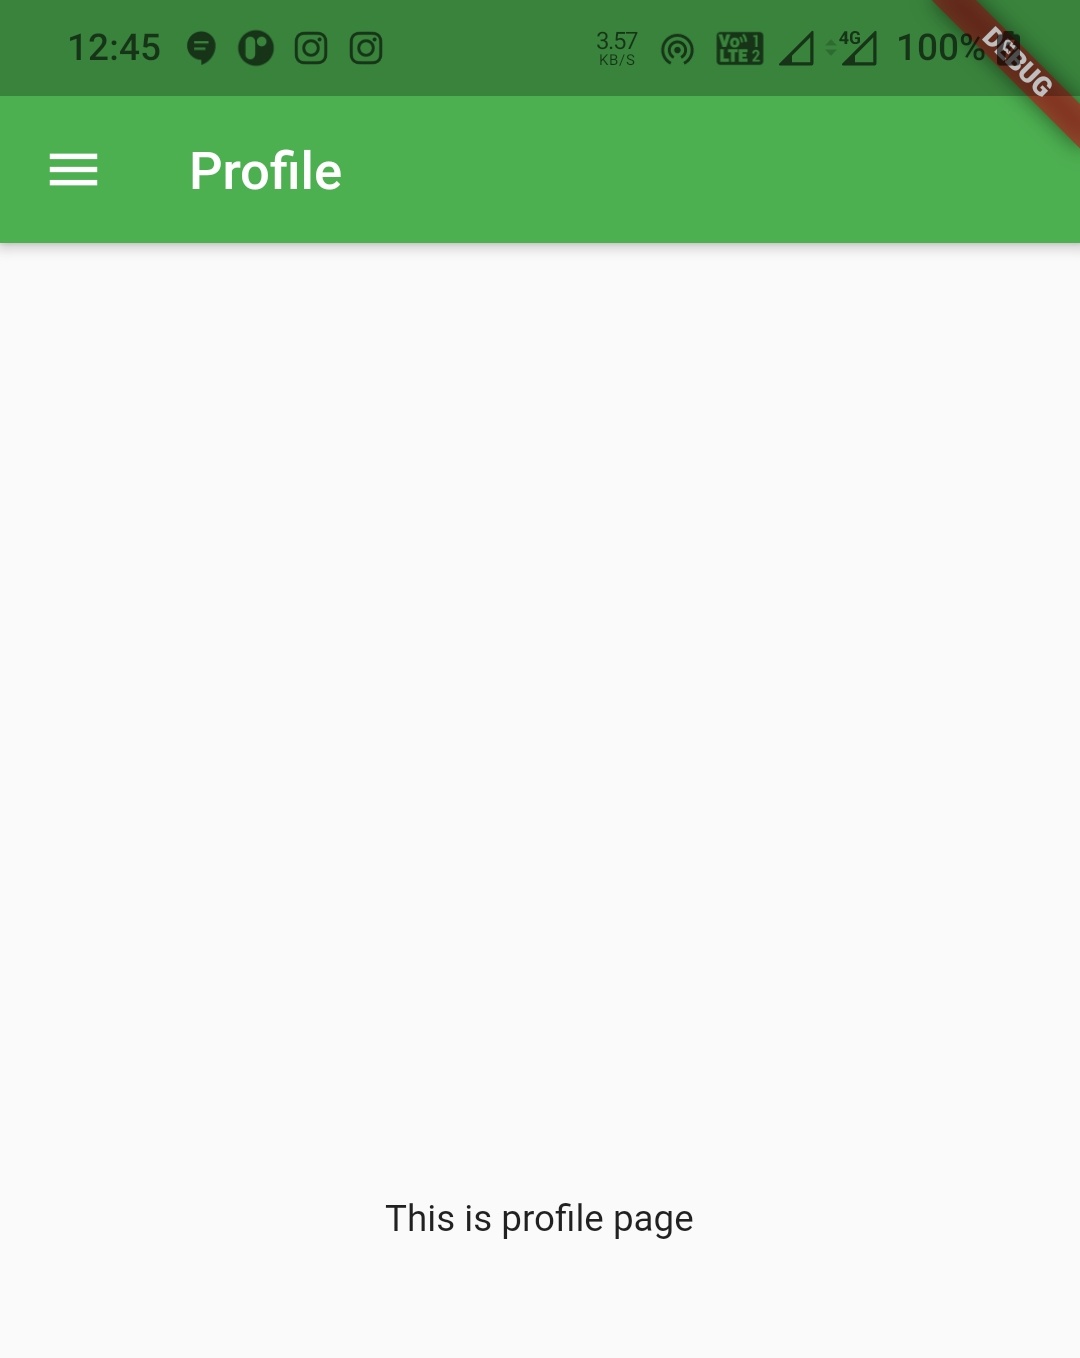
Profile.dart
import 'package:flutter/material.dart';
import 'package:flutter_app_learning/NavDrawer.dart';

class profile extends StatelessWidget {
  static const String routeName = '/profile';

  @override
  Widget build(BuildContext context) {
    return new Scaffold(
        appBar: AppBar(
          title: Text("Profile"),
        ),
        drawer: NavDrawer(),
        body: Center(child: Text("This is profile page")));
  }
}
Output :
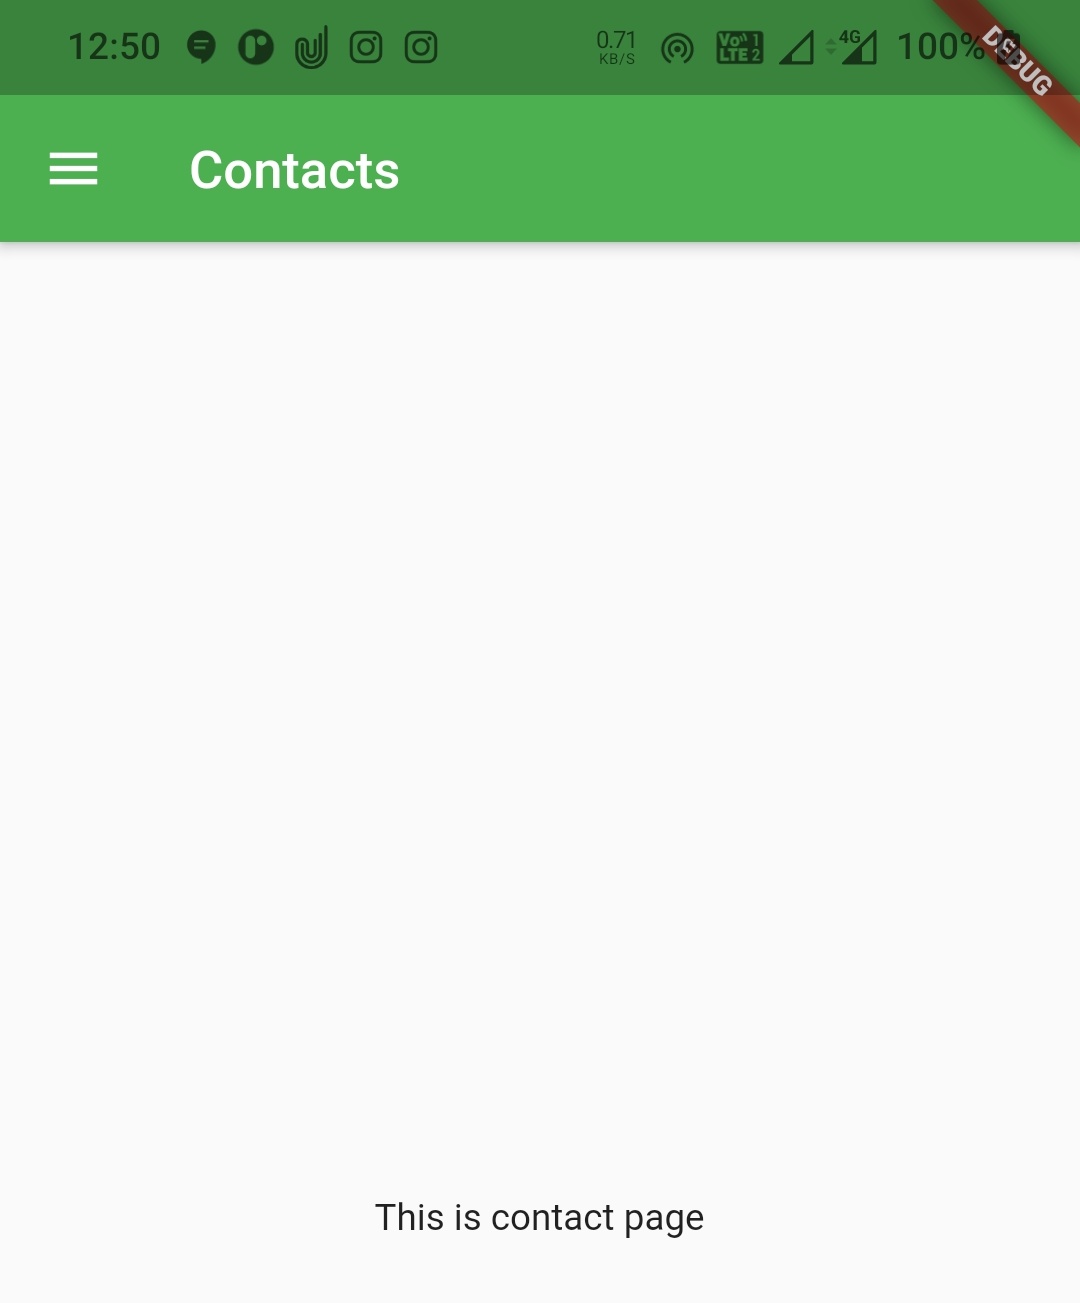
contact.dart
import 'package:flutter/material.dart';
import 'package:flutter_app_learning/NavDrawer.dart';

class contact extends StatelessWidget {
  static const String routeName = '/contact';

  @override
  Widget build(BuildContext context) {
    return new Scaffold(
        appBar: AppBar(
          title: Text("Contact"),
        ),
        drawer: NavDrawer(),
        body: Center(child: Text("This is contact page")));
  }
}
Output :
I hope you understand this tutorial about how to create and display or show navigation drawer in flutter. We have also seen an example where we’ve used Drawer widget and customized it’s style. Let’s catch up with some other widget in the next post. Have a great day!!
Do share, subscribe and like my facebook page if you find this post helpful. Thank you!!
Reference : Flutter Official Documentation


Leave a Reply